If you want to improve your photography…
Don’t take pictures of food.
Become a student of light and take pictures of it instead.
I love personal projects! I have recently challenged myself to shoot more with BACKLIGHT, squeezing 1 hour into my busy schedule every day to study light. I also invited other photographers out there to study light with me and to play around with BACKLIGHT to see its power and ‘the magic’ it creates. That’s how the #belightinspired INSTAGRAM challenge was born.
The aim of this challenge is simple: provoke you to think about light and challenge your seeing skills.
The results are taking my breath away! Check out the #belightinspired gallery on Instagram to see what images other photographers created and if you fancy participating too, here are the rules:
1. Study the light with me
2. Take a photo using a backlight
3. Post it on instagram with #belightinspired
4. Tag me in your images so that I can see what you’ve created
5. Runs throughout August
EXERCISE YOUR SEEING SKILLS
Your eyes are the most powerful piece of photography equipment. Your camera doesn’t take your pictures – you do! And to be a good photographer you need to master the art of observation first. You need to stop looking and start SEEING.
Don’t rush, take your time to see how light behaves. Only that way you will be able to understand it and use it to your advantage in your images . Notice how it changes during the day. All you have to do is to be present and pay attention.
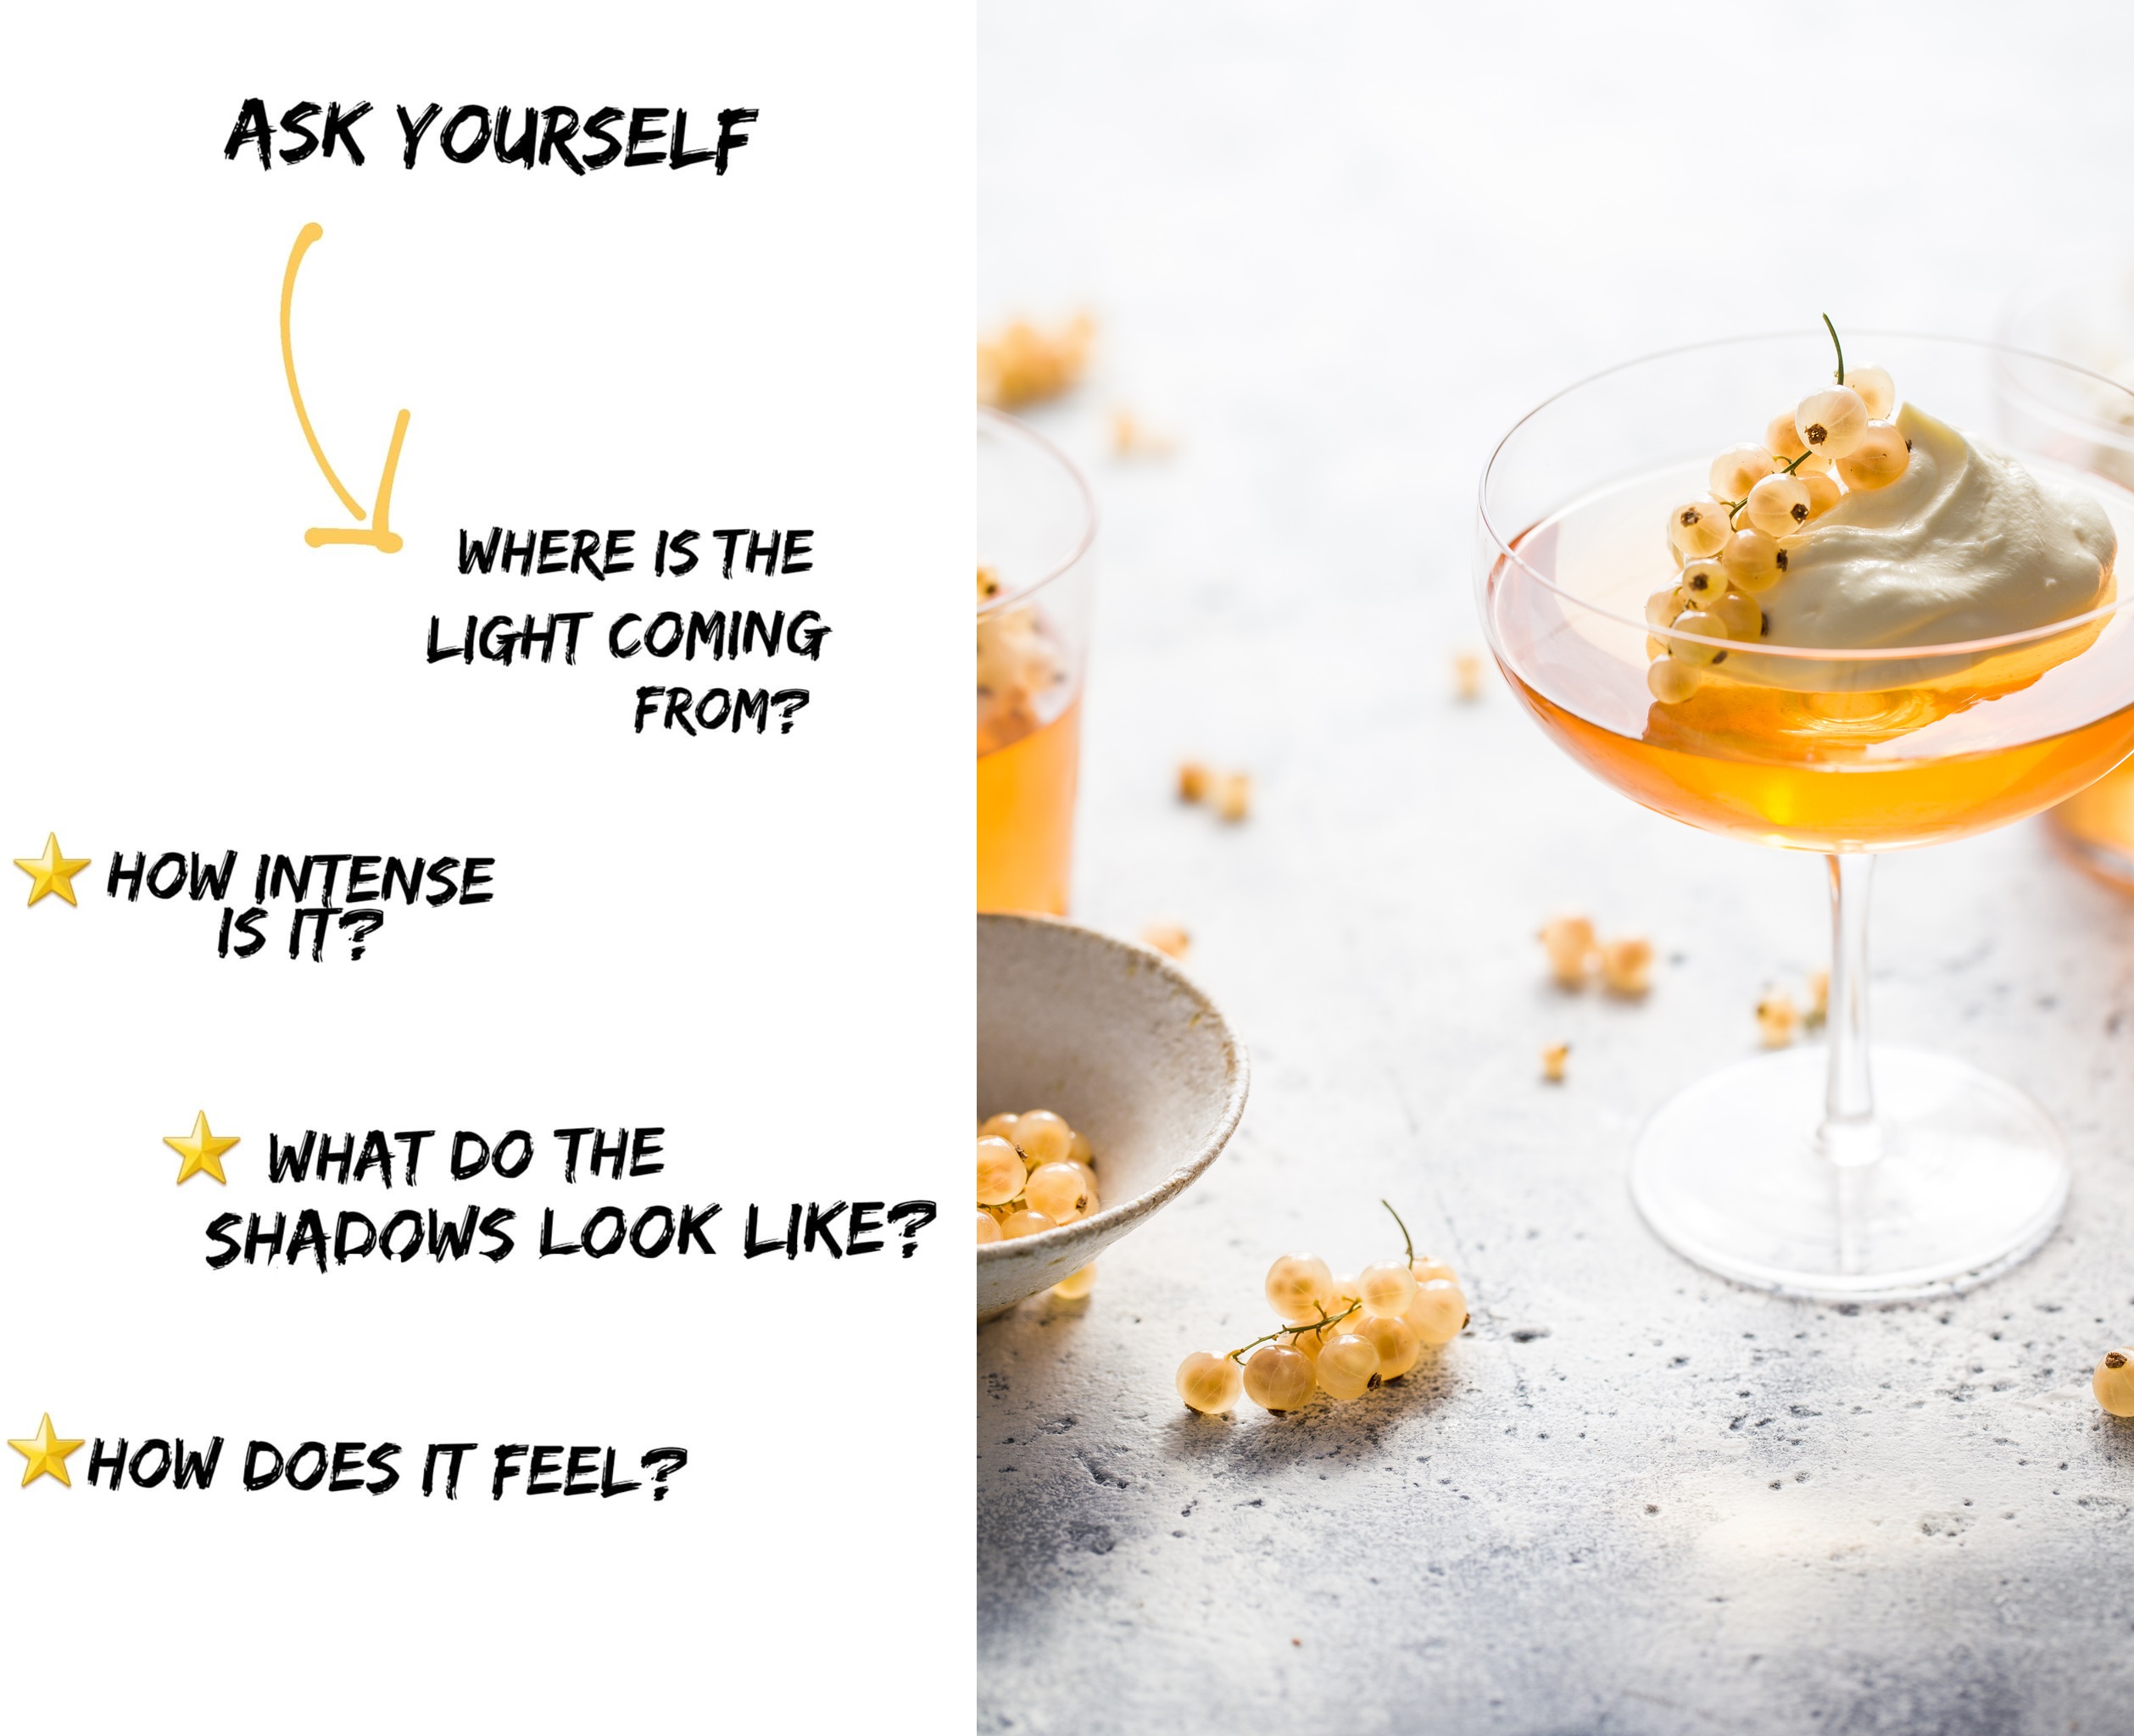
I highly recommend noting your observations down – it helps to organize your ideas and thoughts.
BECOME A STUDENT OF LIGHT – BACKLIGHT MAGIC
Without a shadow of doubt – side light has taken all the fame when it comes to photographing food. Backlight seems rather unpopular and often overlooked….
but I am about to shed the light on why photographing with backlighting technique can create a WOW effect in your images.
So, what is backlight?
The term refers to the main light source being placed behind an object, person or scene to create a highlight that separates the subject from the background.
There are 2 important factors to be taken into consideration when it comes to technique of backlightning.
1. Your main light source is highlighting your subject from behind.
2. Your camera is facing the light source, so that means you are shooting into the light.
Which means your subject is placed in the middle – in between of the light source and the camera. Like in the picture below.
SOMETHING IMPORTANT TO CONSIDER
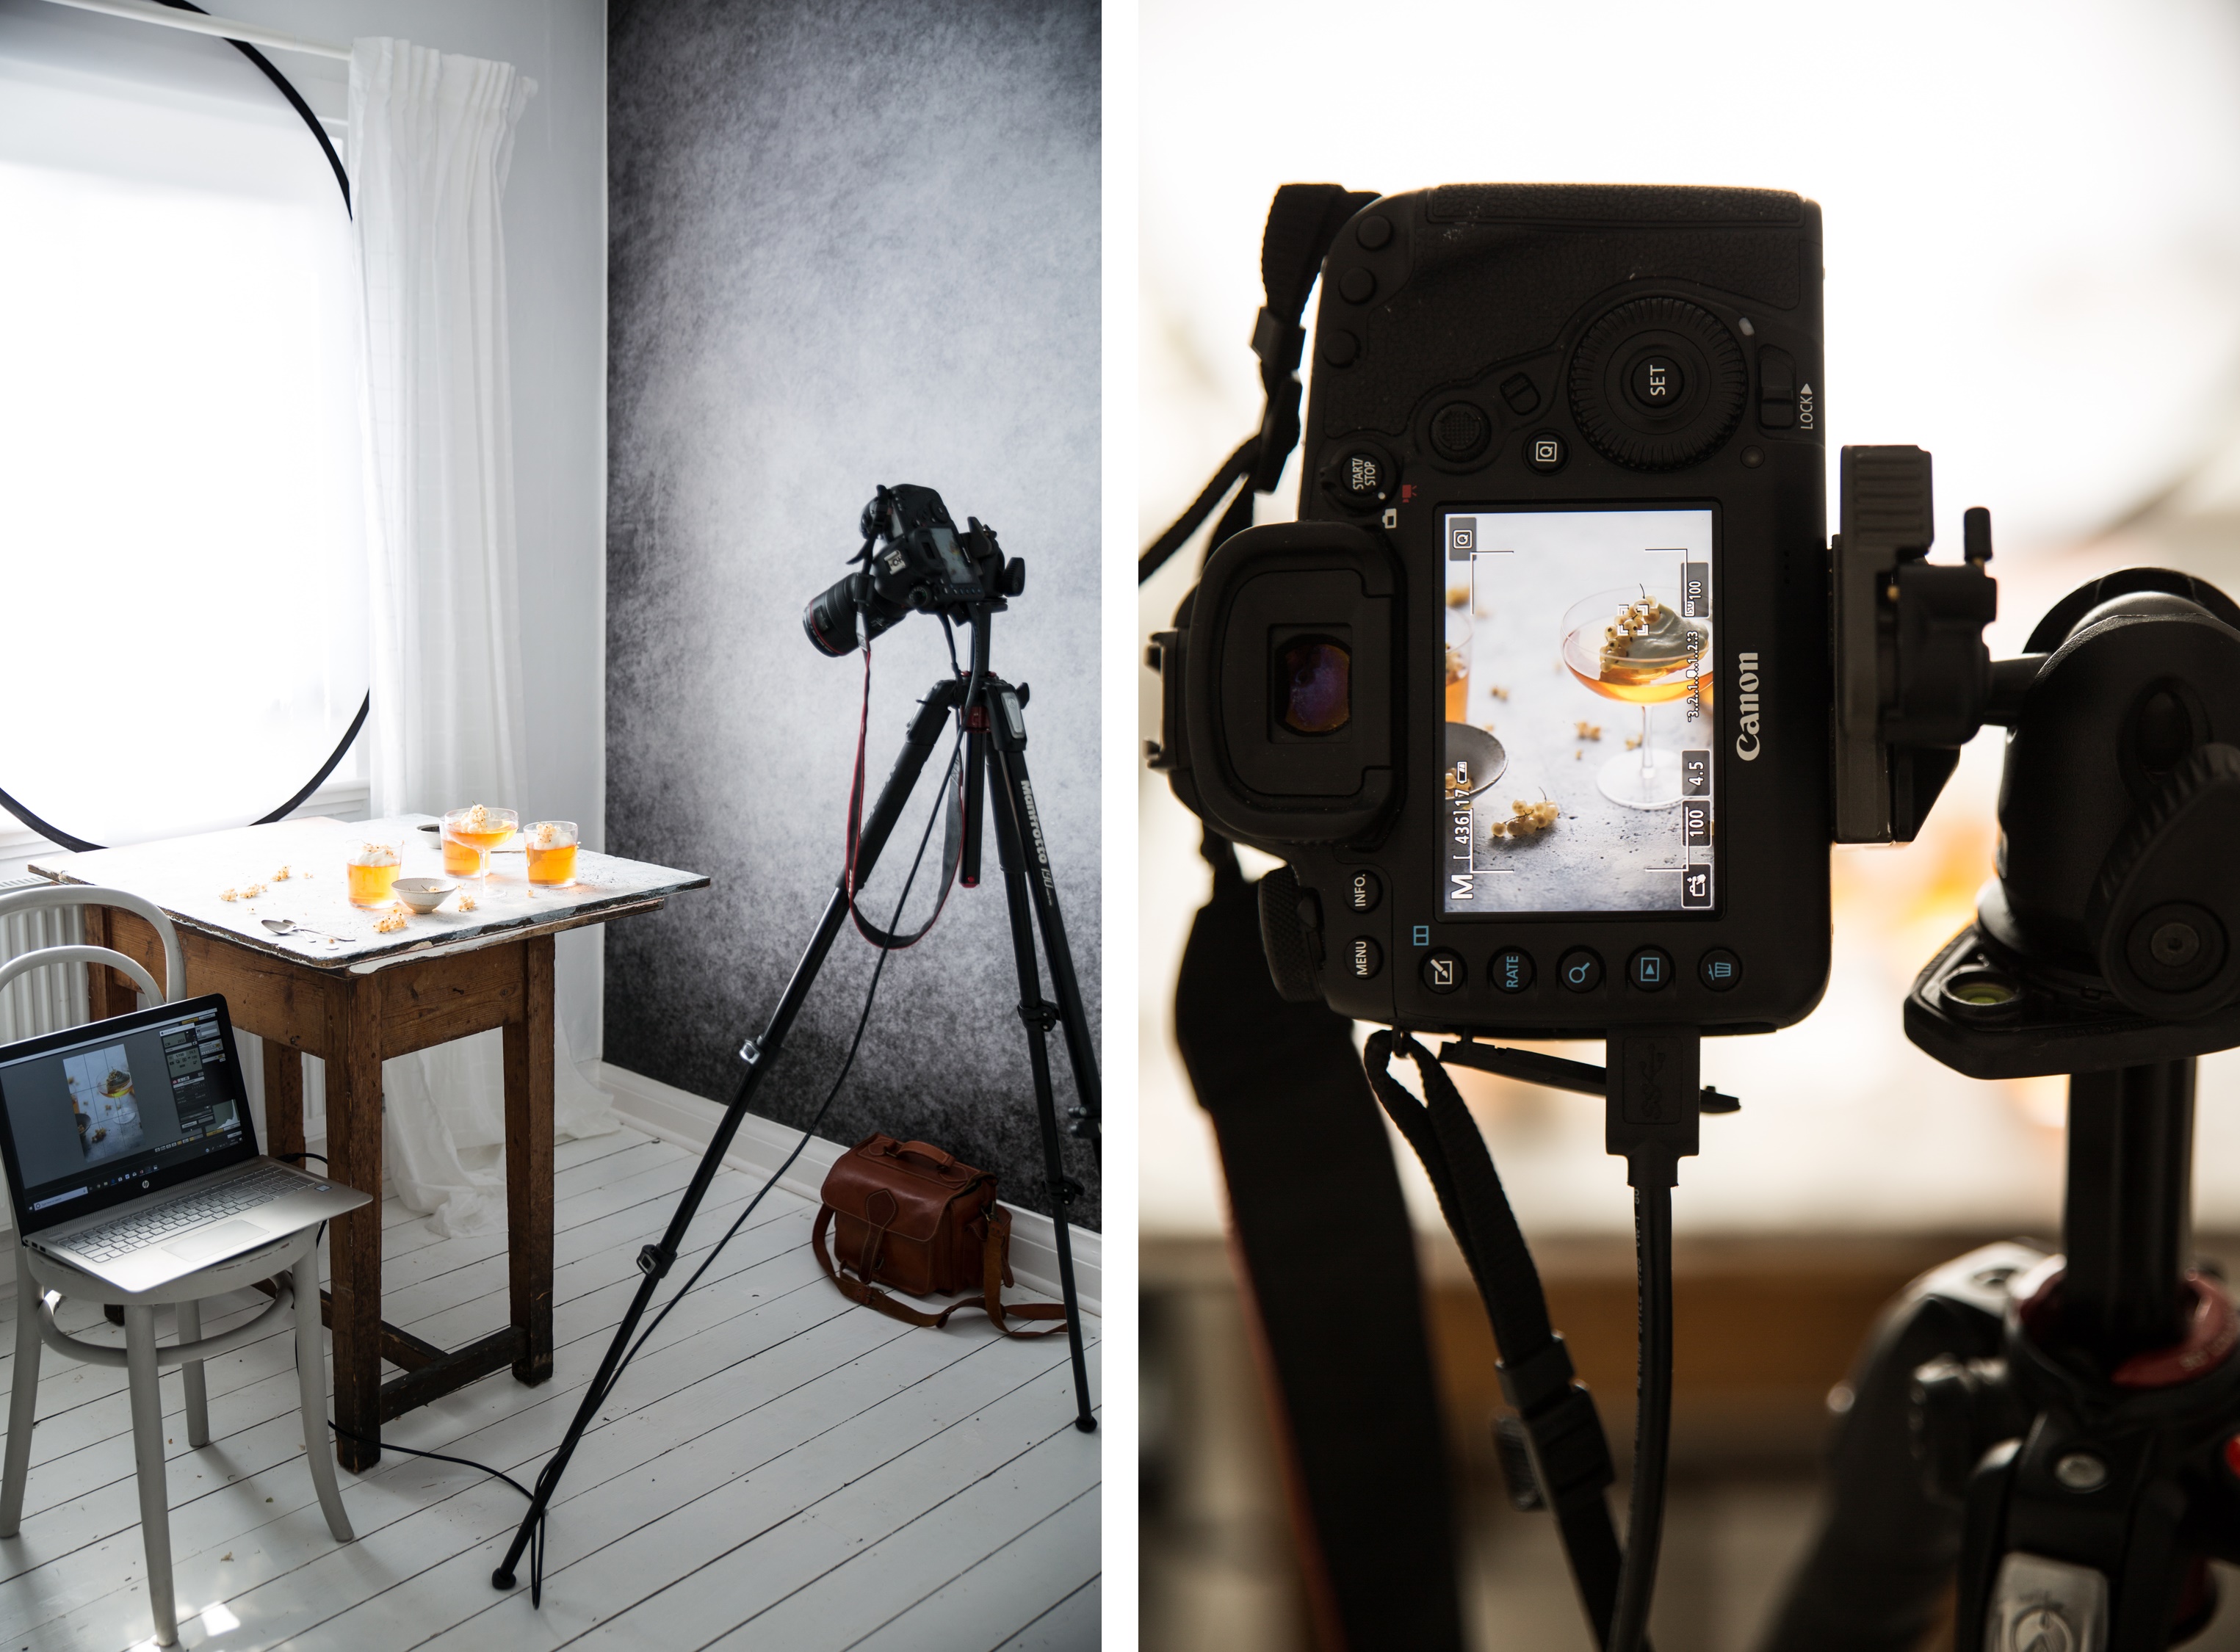
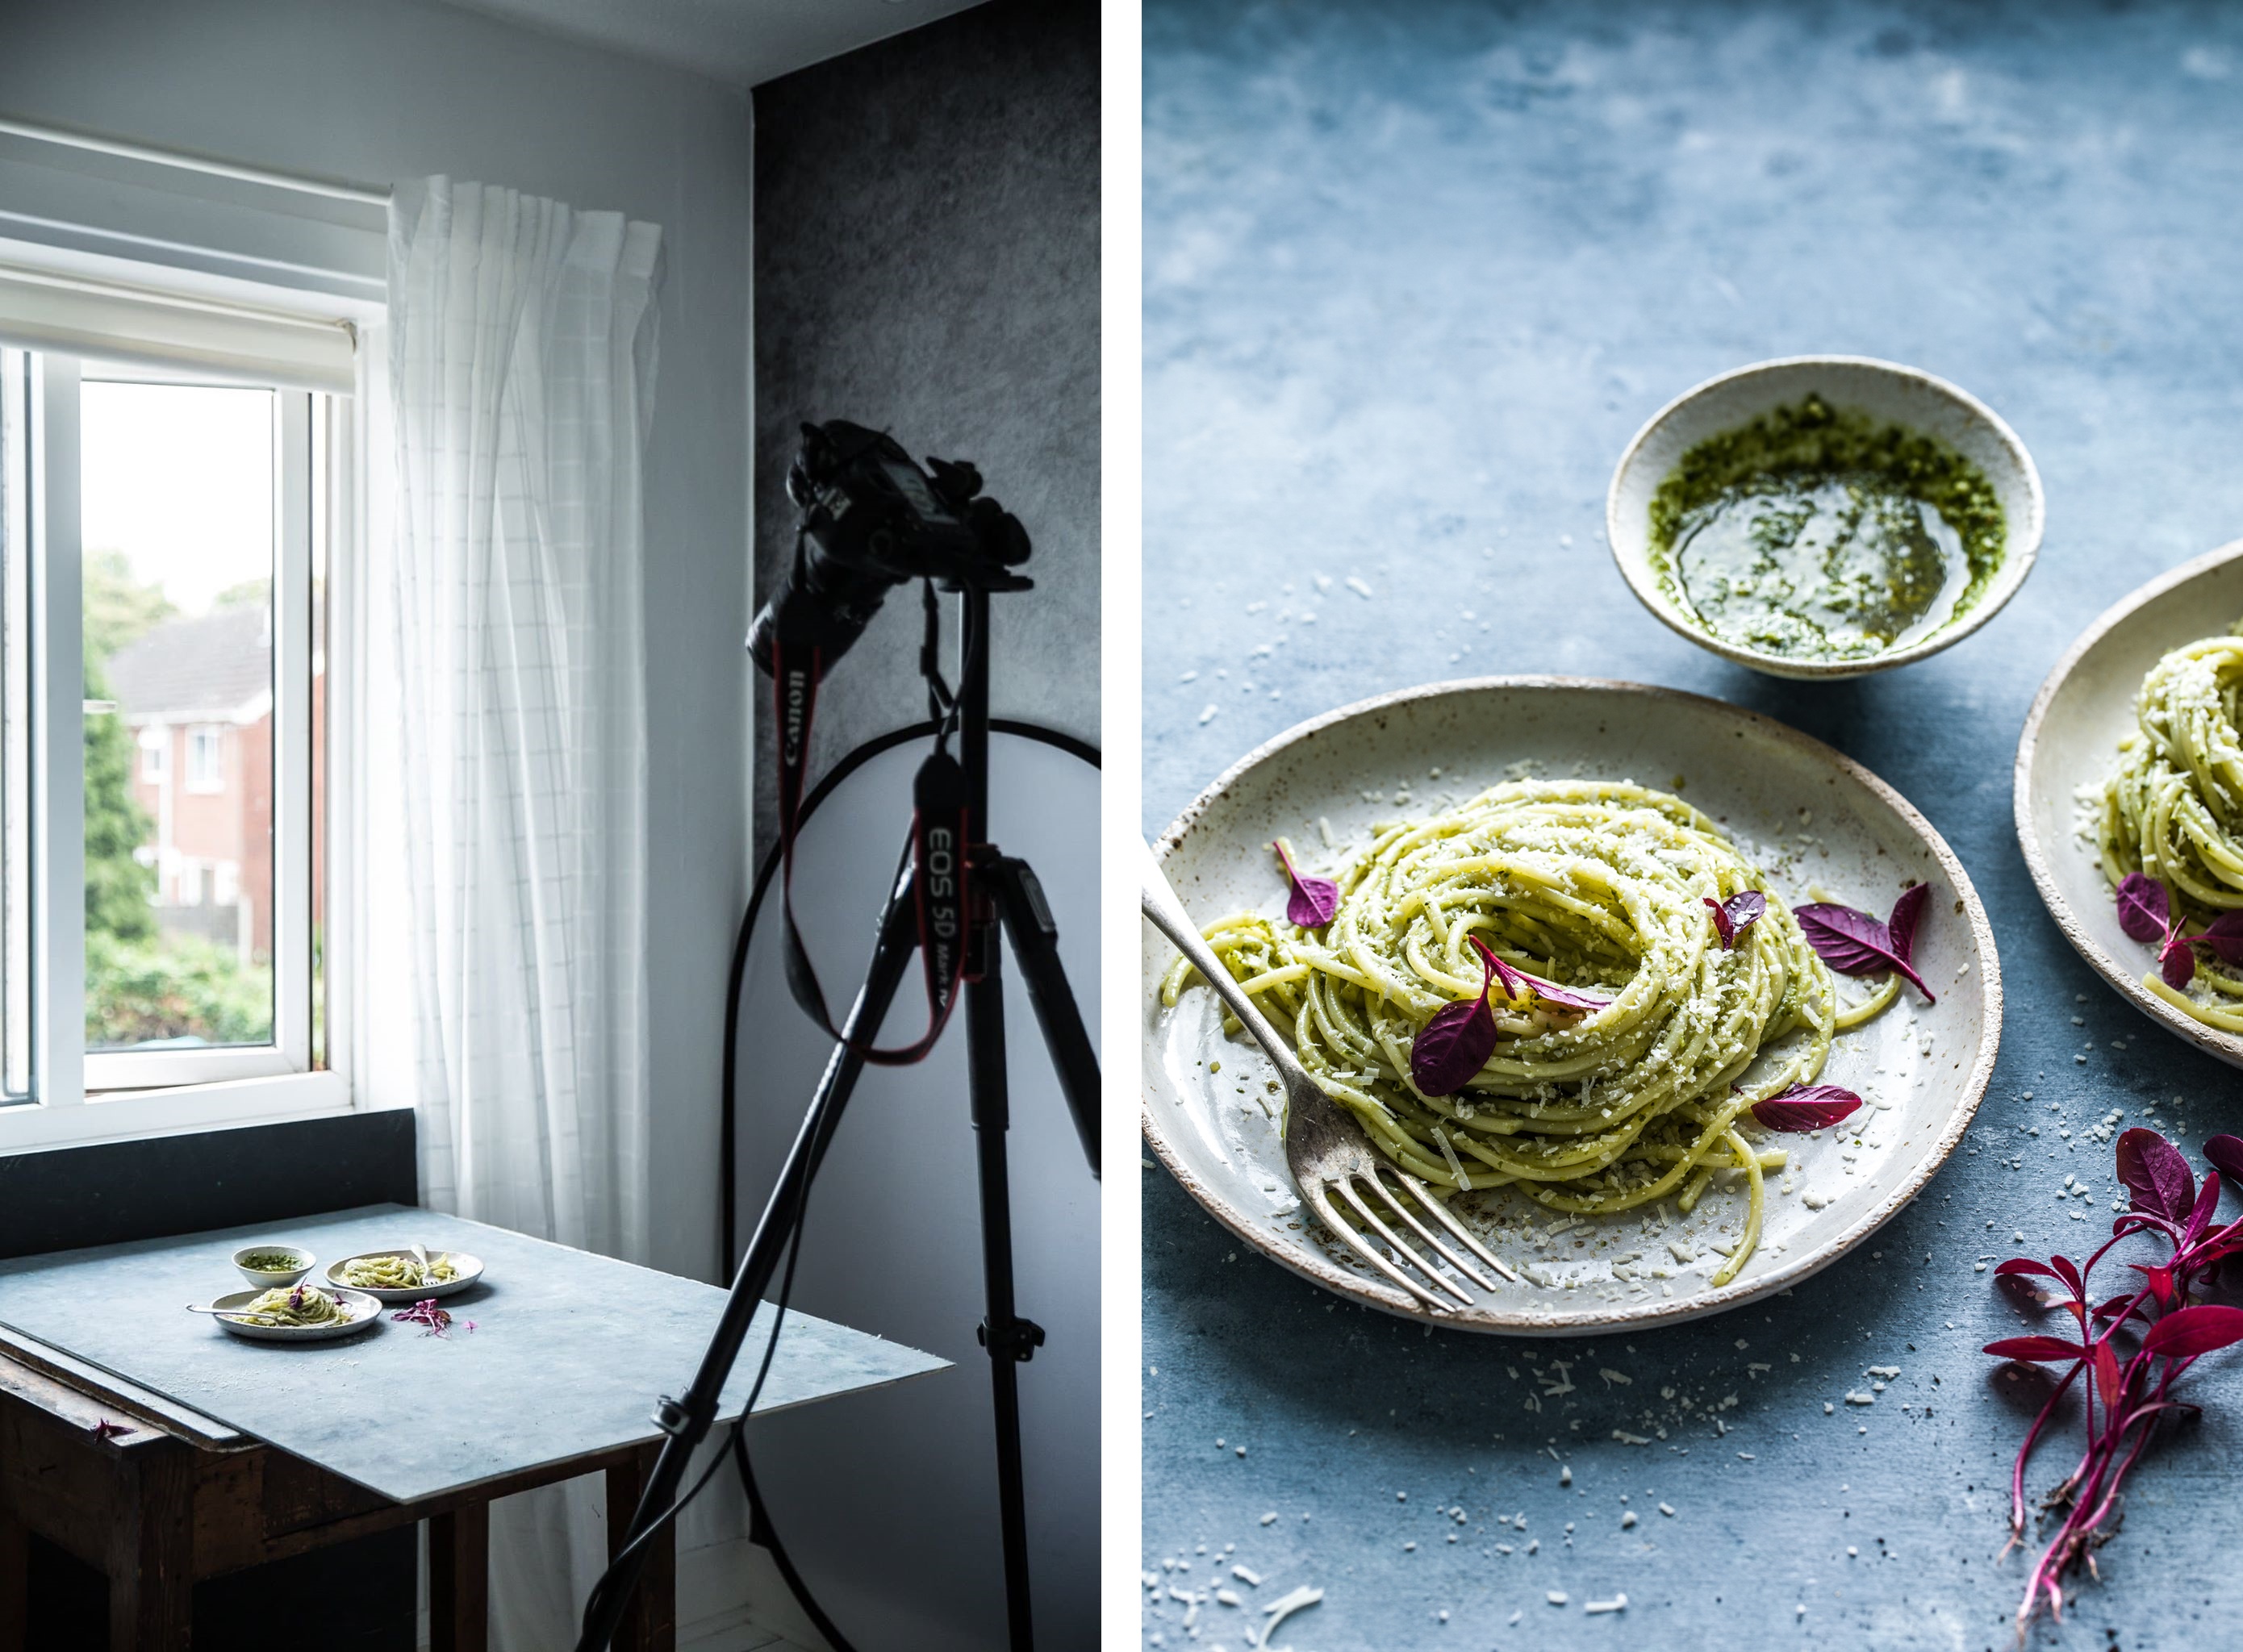
I often see overhead food images being used for backlight examples. But let’s have a closer look at what happens when you move your camera overhead. And let’s imagine there is a camera on that tripod, ok? 🙂 And it’s facing down to capture this flatlay 🙂
In fact, light hits your subject from the back and creates the shadow that moves to the front of the subject. However, the camera is not facing the light source here – it is facing down – your subject is not in between your light source and the camera.
Can you see that?
We no longer talk about backlighting technique here, and since the light hits your camera on the side (not straight in a face 🙂 ), the light here behaves the same as the side light, but rather than hitting your subject from the left or right side it hits your subject from the back side.
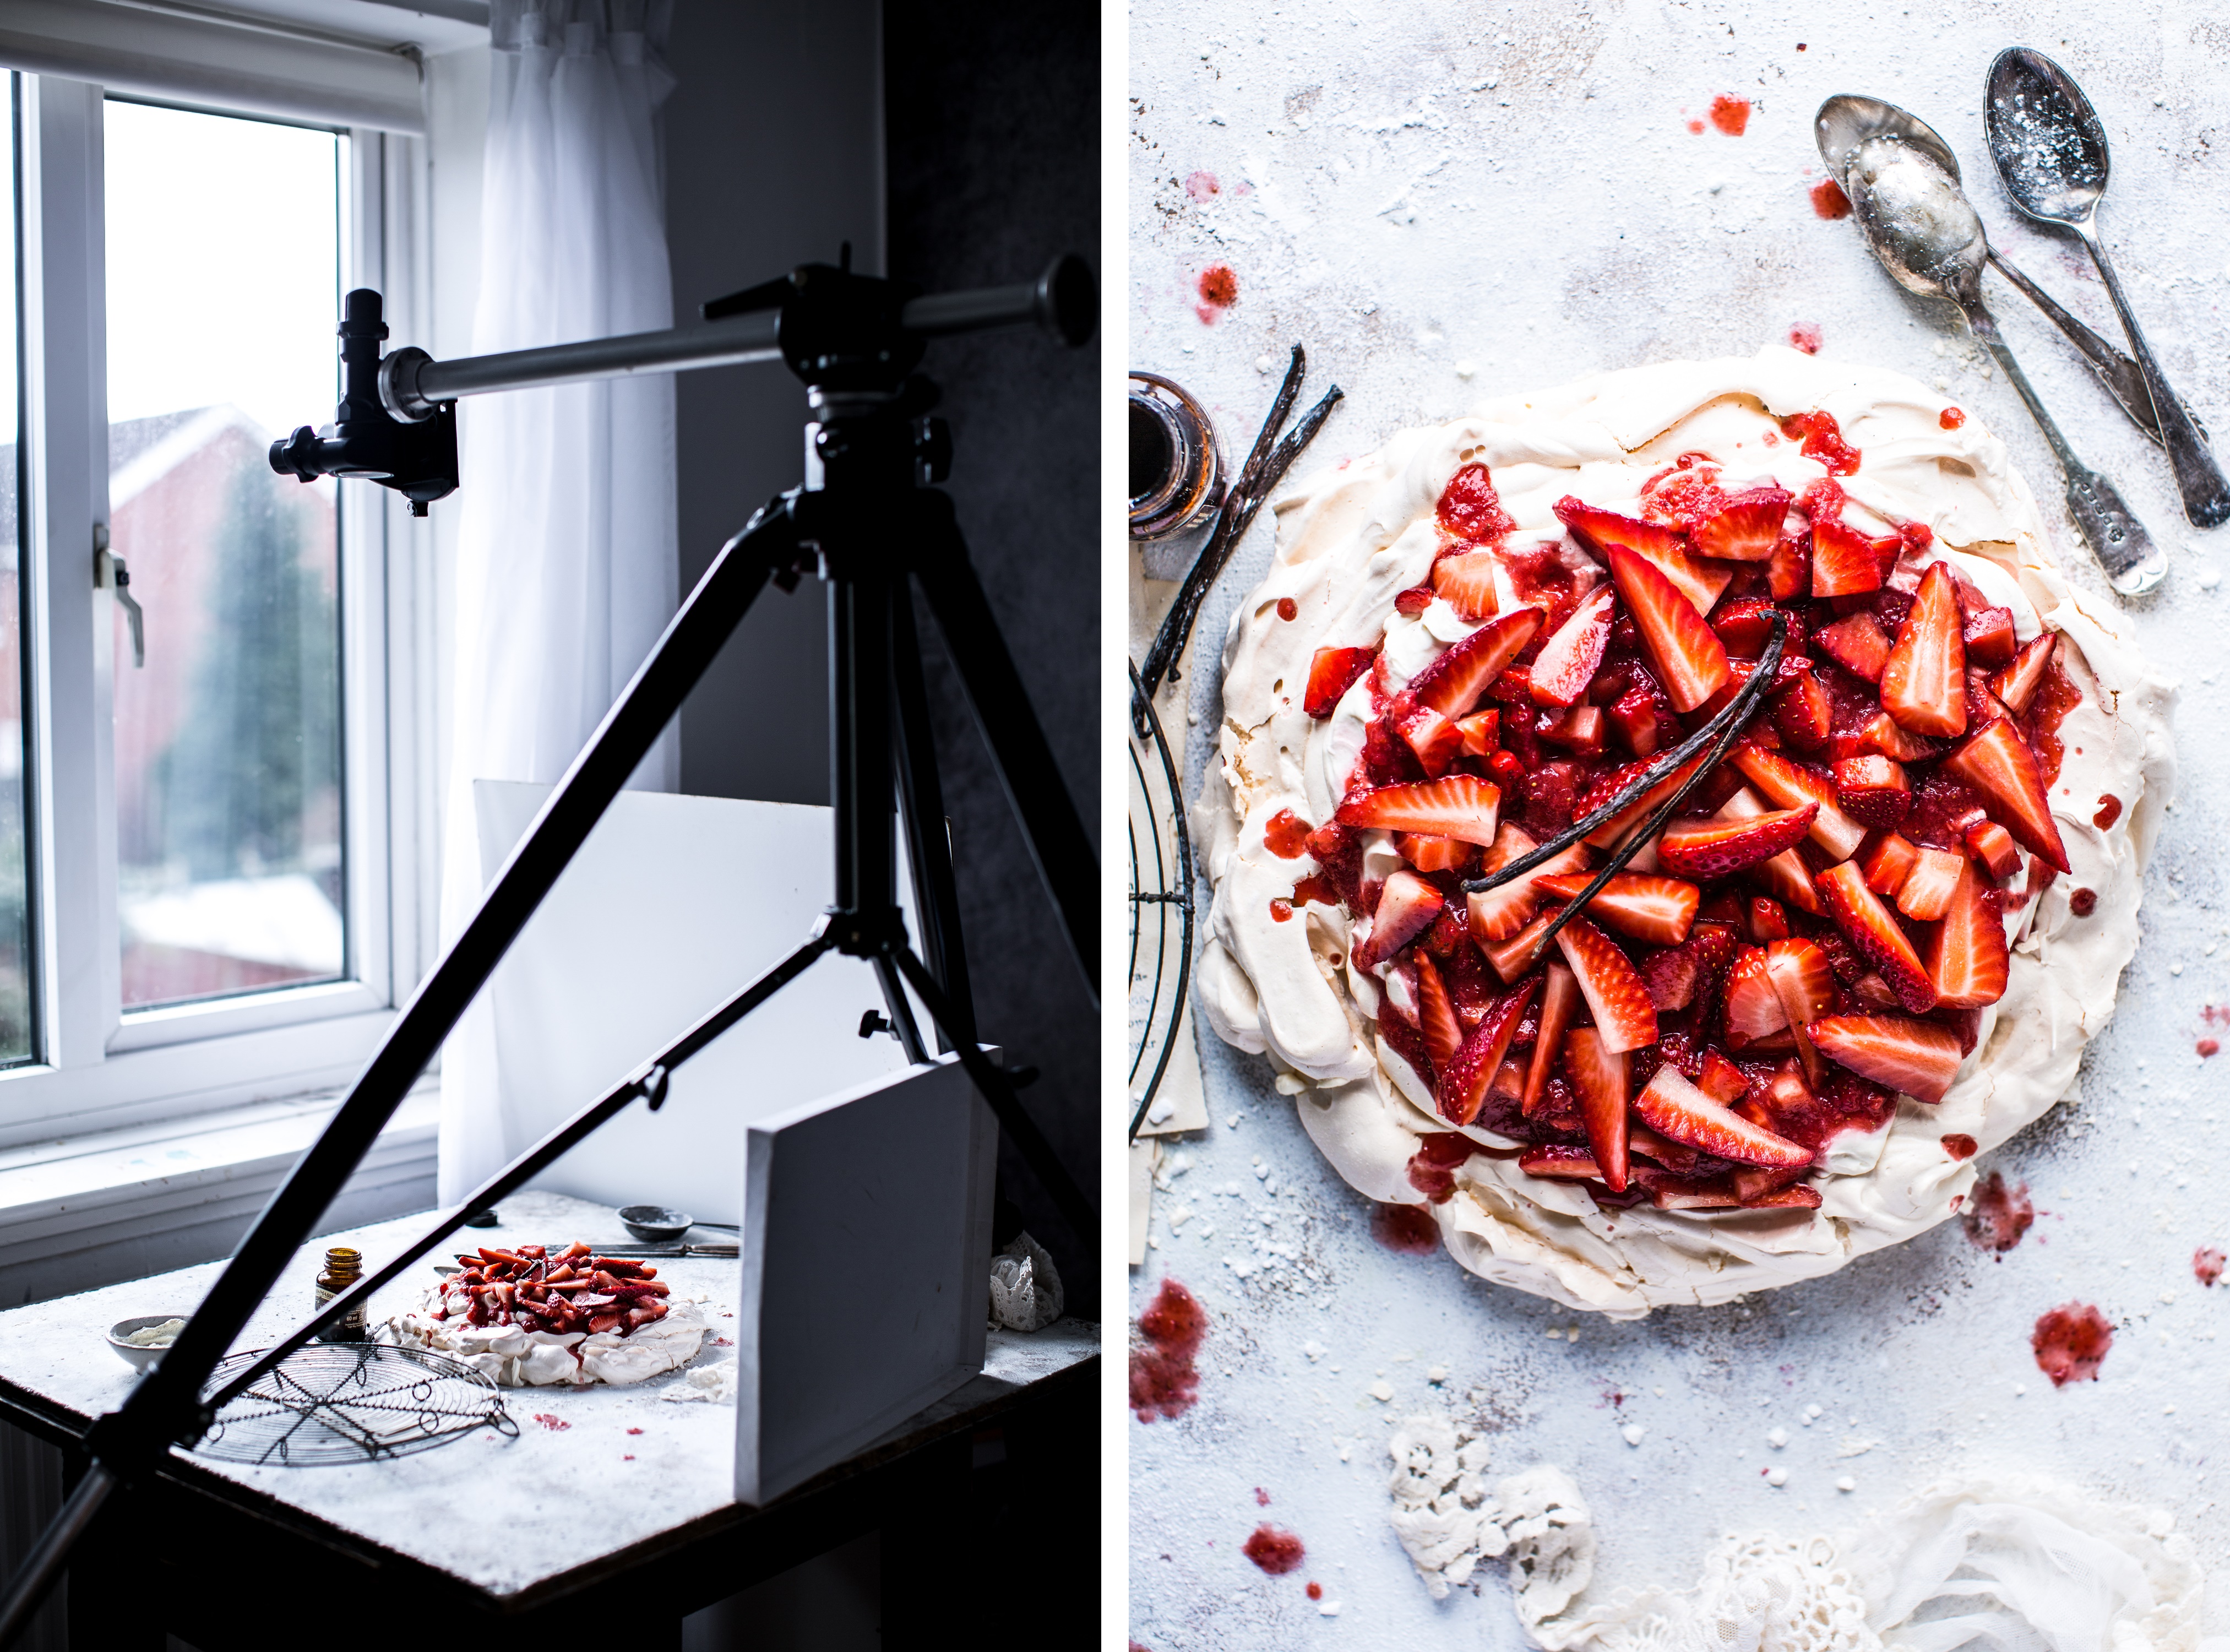
Let’s visualize that!

Image number 1 was taken overhead with a light hitting the subject from the back, however if I changed the orientation like I did in the image number 2 , you might as well think that the light is hitting my subject from the right side.
Can you see that better now?
THE MAGIC
So now that we know what backlight is and what angle you can capture it with, let’s talk about the magic.
Why I fell in love with backlight?And why I want you to fall in love with it too?
It is atmospheric! ETHEREAL.It adds depth and the magical glow to your images. It almost makes light tangible.
What to take into account when photographing backlight?
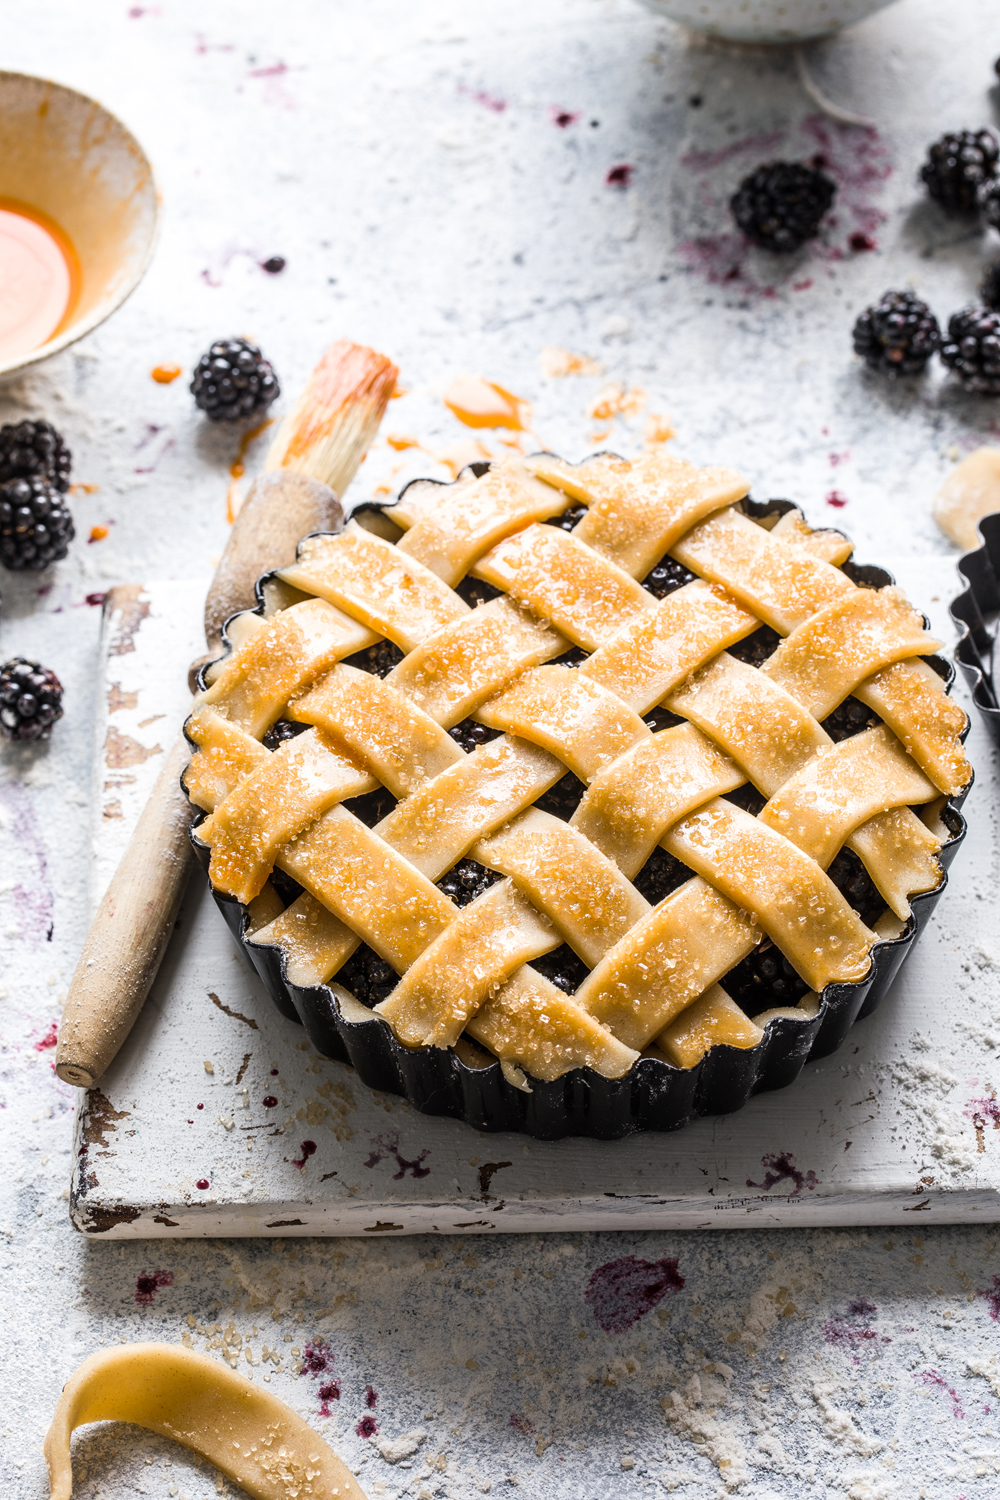
1. Backlight loves texture
Backlight is all about highlighting the texture! And when the light meets the texture – the magic happens!

2. Backlight will bring little but magical details to life
Droplets of water on freshly washed tomatoes, sprinkles of sugar on the pie pastry, champagne bubbles in the glass – details that might have been lost with the use of side light, are beautifully enhanced and highlighted with the use of backlight.
3. Backlight doesn’t have to be soft light
This is something I have to explore myself yet! 🙂 But I am inspired by beautiful hard backlight images that have been created for this challenge by other photographers!
Just look at this image created by Catherine Frawley! WOW!

4. Backlight will keep you on your toes
Backlight is not effective in every situation! You have to pick the right subject – mindfully – and focus on the texture here. This type of light can be capricious and challenging. But it also forces you to train your seeing skills, to look closer, to dig deeper. It keeps you on your toes! Do your research and start from something easier.
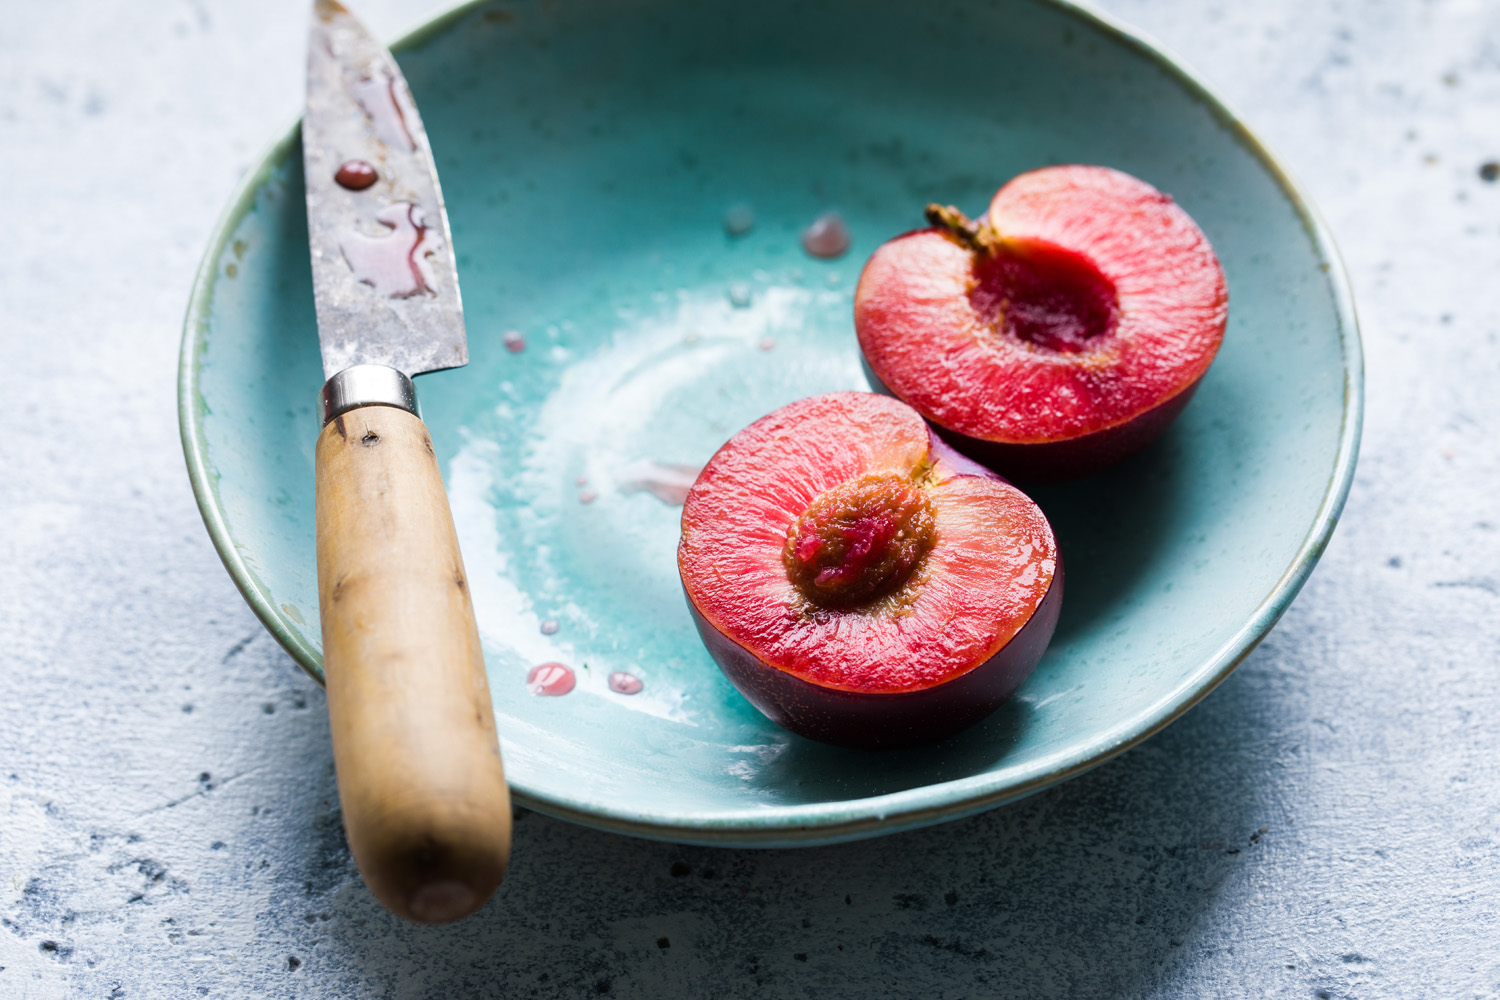
Think about food that will have a ‘glowing’ effect – chocolate ganache, icing, nice cream or drinks will make a perfect subject for backlight. I also love how it highlights the glister of various fruit and vegetables – just look at these plums!
And a little warning here: backlight picks up every imperfection! If your ganache doesn’t look smooth – this light will intensify it even more.
5. Backlight can be reflected
Backlight creates a lot of shadows, which add dimension and depth to your images. But sometimes too much of a good thing might turn into a problem 🙂 To balance the image and make the lightning look more even – you might want to reflect the light back by placing a reflector or a white foam in front of your frame but making sure it’s not obstructing your camera. Exactly what I did in the image below.

6. Backlight can also be blocked.
Don’t be afraid of blocking your light, like I did in the image below to create the shadow on the top part of the image. With this little trick, I added dimension and avoided the background looking too washed out.
IT’S NOT ABOUT PERFECTION
Don’t be afraid to overexpose part of your image – backlit photos are not technically perfect in terms of exposure.
But don’t you love breaking the rules? I DO!
Playing around with backlight is not about perfection guys – it’s all about having fun and experimenting to create something new.
Do you love shooting with this type of light? Share your experience in the comments below!
I am also here to answer all of your burning light-related questions!
Hugs, Bea x