Aaaaaaa!!! THIS IS GOING TO BE SO MUCH FUN! That was the first thought that flew into my head as soon as I heard the idea for the new magazine feature that Sister Mag wanted me to work on for their March Issue about Mary Poppins. I mean, who doesn’t like Mary Poppins?
The idea was to create a collection of 3 sweet recipes along with the images for a feature titled ‘A spoonful of sugar’ and the team gave me all the creative freedom to interpret this idea.
Ready to hear all about my creative process? Then grab a cup of tea, put your feet up and enjoy the reading! And don’t forget to let me know what you think in the comments below!
Just a little note here:
Before I’ll take you on this journey through my process of creating, I really want to highlight that none of these steps should be taken as stiff rules to follow. I am a huge believer that all rules should be stretched, bent or broken. I don’t want to impose things that work for me onto you. Every project is different. And most importantly, every creative person is different – YOU DO YOU!
Stage 1 – BRAINSTORMING THE THEME
The first question I always write down when planning my work is:
How do I want the viewer to feel my image?
You don’t see a photograph, you feel it.
Just think about it for a moment. Everything in life is about how we experience it. How it makes us feel. Art, people, day to day situations. We can be scrolling through our instagram feed feeling uninspired and then we suddenly stop the second we ‘see’ that striking image that makes our heart beat faster. But we don’t just see it, we feel it. We connect with it straight away.
We have strong (positive or negative) emotions or no emotions at all about something before we can even describe WHY it makes us feel that way. We know instantly if we like a photograph or not, but it takes us longer to figure out what is it about the details that makes us feel that way.
We feel something- before we think about it- that’s the emotional nature of human beings. Which as you know, might make life complicated sometimes 🙂
EVOKE EMOTIONS
In photography, however, thinking about these emotions can make the process of creating easier. The minute you decide to embrace the emotional nature of your viewer and take her/him for a beautiful ride with your imaginary, that’s when the true connection happens. How we want the viewer to feel will determine the overall mood, light, colours, food (if you develop the recipe), props and background, angle,composition and styling you choose for your photograph. Really,it determines ALL YOUR CHOICES for creating the image.
This thought wouldn’t leave me as I was discovering my style at the early stages of my photography journey, and it changed totally how I approach my photography process these days. It’s all about evoking these emotion in your viewer! Not everyone will connect with your art and your message and that is TOTALLY OK. But knowing what emotions you want to evoke with your images will allow you to create your work more intentionally and will give you the CLARITY of how to capture that striking photograph.And isn’t that what we are all striving for?
BRAINSTORM the theme or RESEARCH IT
For my personal projects I usually have a strong vision in mind of what story I want to tell and I will only do a research if I experiment with colours that I’ve never worked with before, or food that is new to me, or I want to try an idea that is different to my style.
For my client work – if there is no brief – I always do a research, because I am working with someone else’s idea and I want to explore this idea to make sure I interpret it well.
When I did a research about Mary Poppins, these few things stood out for me the most – colours (whites & reds), kites, umbrella, Britishness and the famous lines from the musical, and these few words echoed in my head:
- fun
- playful
- vibrant
- feminine
- dreamy
Ta dah! I had the mood for the article!
Stage 2 – MOODBOARD
The next step is to put all these wild and fun ideas into a united vision to see what works together and what is best to leave out.
Here is what my Pinterest moodboard for this feature looked like.
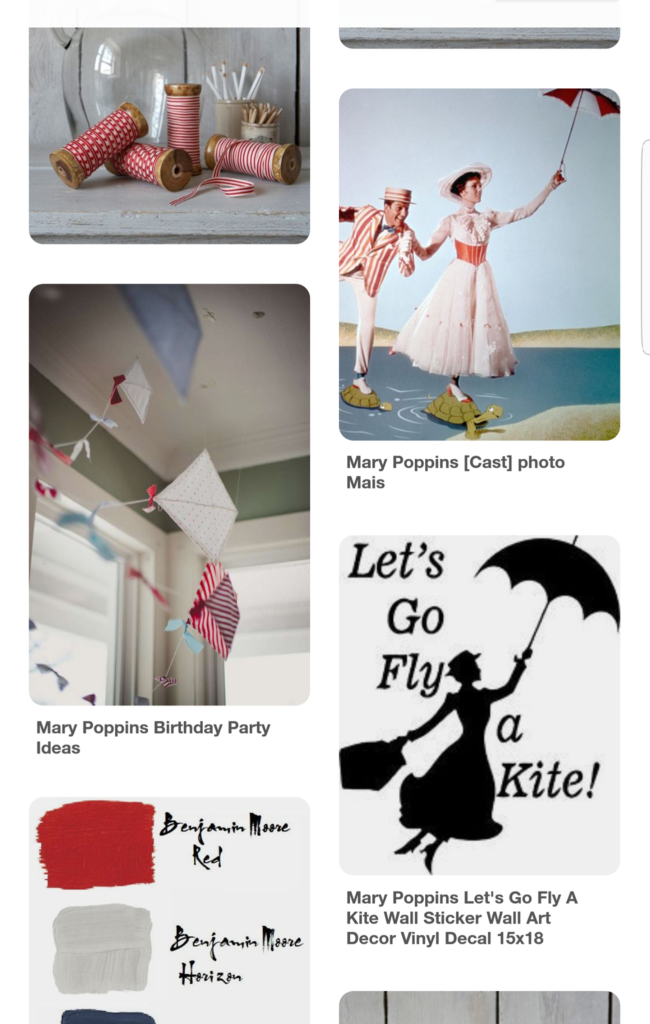
What idea does this collection give me?
- The colours that I’ll use- white and red – which perfectly highlight my theme and the vibrant mood of this feature. The colours you use impact the overall mood of your images. TREMENDOUSLY!
Something you have probably already noticed in my work is that I play with colour A LOT. It’s because I am FASCINATED by colour psychology and how certain colours impact our emotions. (But that’s a topic for another conversation).
- I’ll add an element of polka dot or stripy pattern – to make the feature more fun and playful
- I’ll add something of a shape of a kite or umbrella in food styling – to add a fun element and create all these ‘Mary Poppins’ feelings
- I’ll use lace napkin or cloth – for the girly touch
- I’ll incorporate typography with famous lines from the musical
You can see that there is no food images here that inspired this article. It was inspired by the movie.
There is nothing wrong with being inspired by other food images (I am all the time!!!!), but it’s always interesting and valuable if you can bring inspiration to your food photography from other fields, like for example from film or design.
Stage 3 – Marrying the idea with the food and props.
It’s time to bring these details to life by choosing the right props and the food that will be the main star of the story.
FOOD
You can’t always choose the food that you will be working with but in this case I was responsible for the recipes too. I started by writing down few sweet recipe ideas that would reflect the mood of the story, so connect with all these words I collected in the last two stages. I ended up choosing 5 recipes that I tested, picked the best 3 and tested them again.
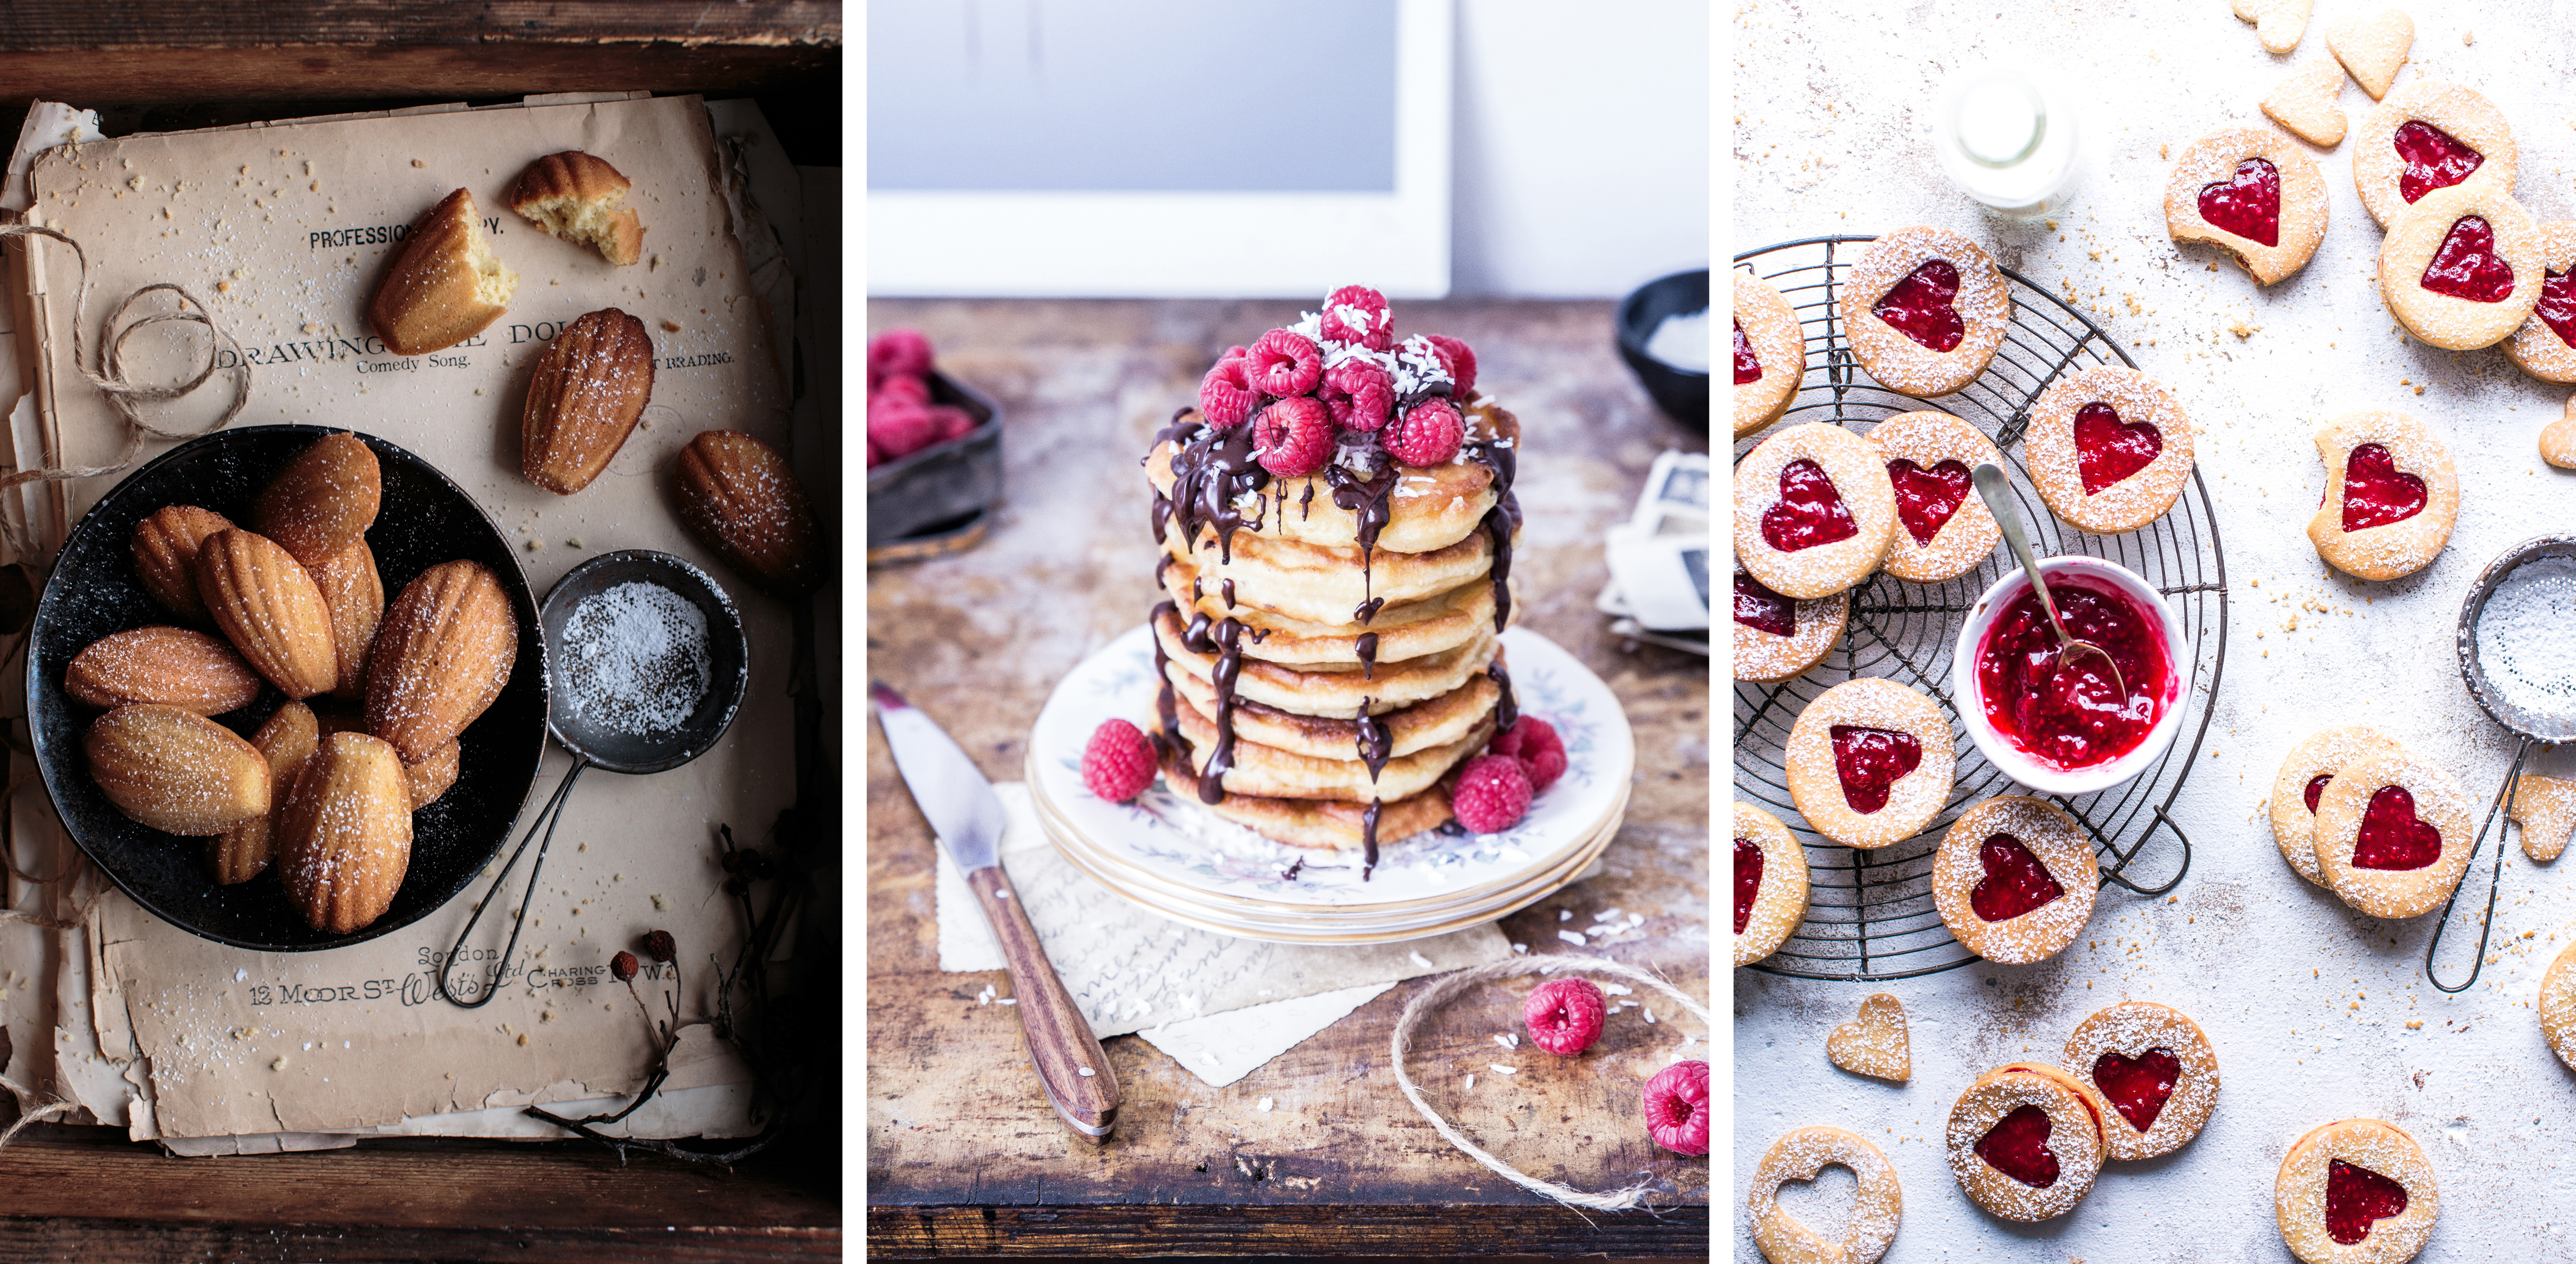
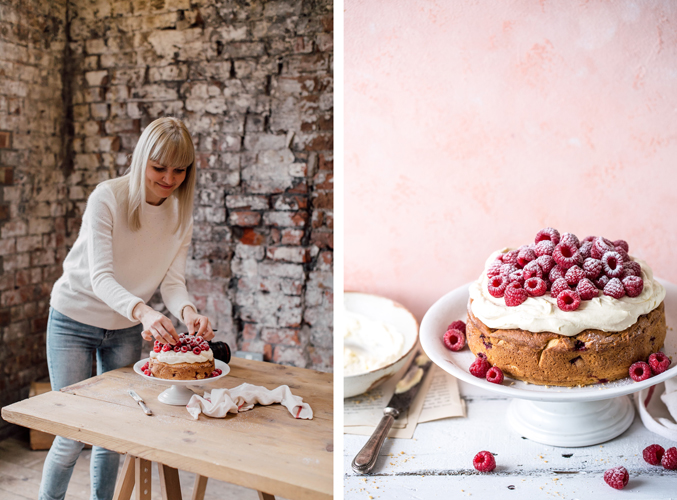
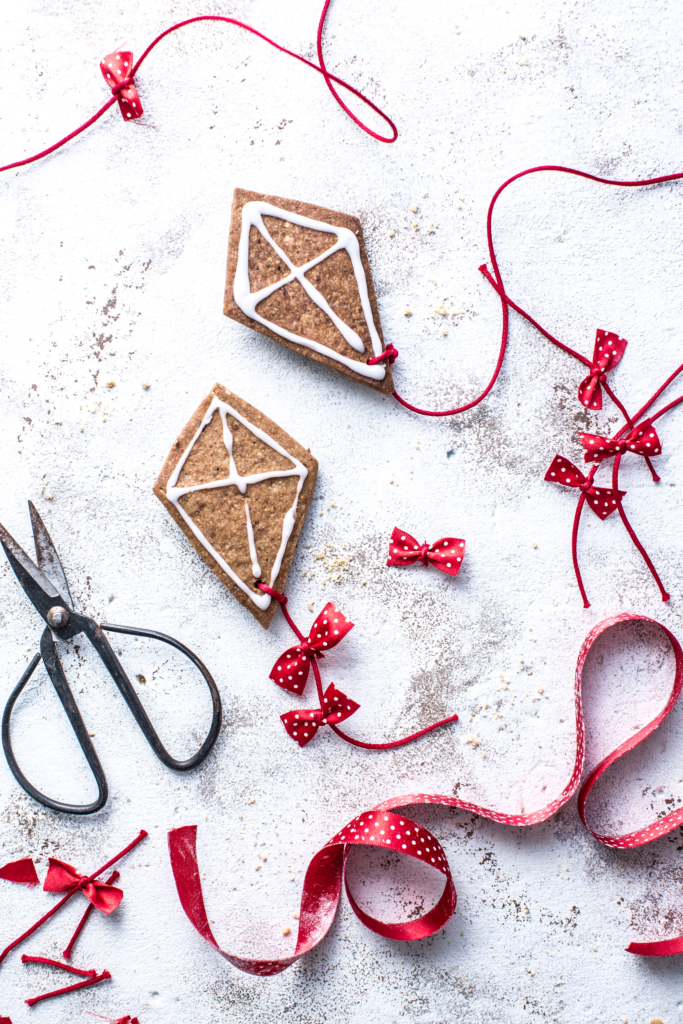
At this stage I had hand pies that were a creative canvas for the title of the feature ‘A spoonful of sugar’, cookies that would be cut into kite shape and hold well after baking. And of course there is nothing more sweet and more British that Eton Mess 🙂 In this case I went for Eton Mess Pavlova.
PROPS
As for the props – I chose the spoons to reflect the title of the feature. A red ribbon – as this is something you see in the movie a lot and it would add a fun element and movement to the styling. And just few more little bits and pieces to support the story of the food, but which were not too distracting from the main subject – like cookie cutters, book pages, vanilla, jam and icing sugar.
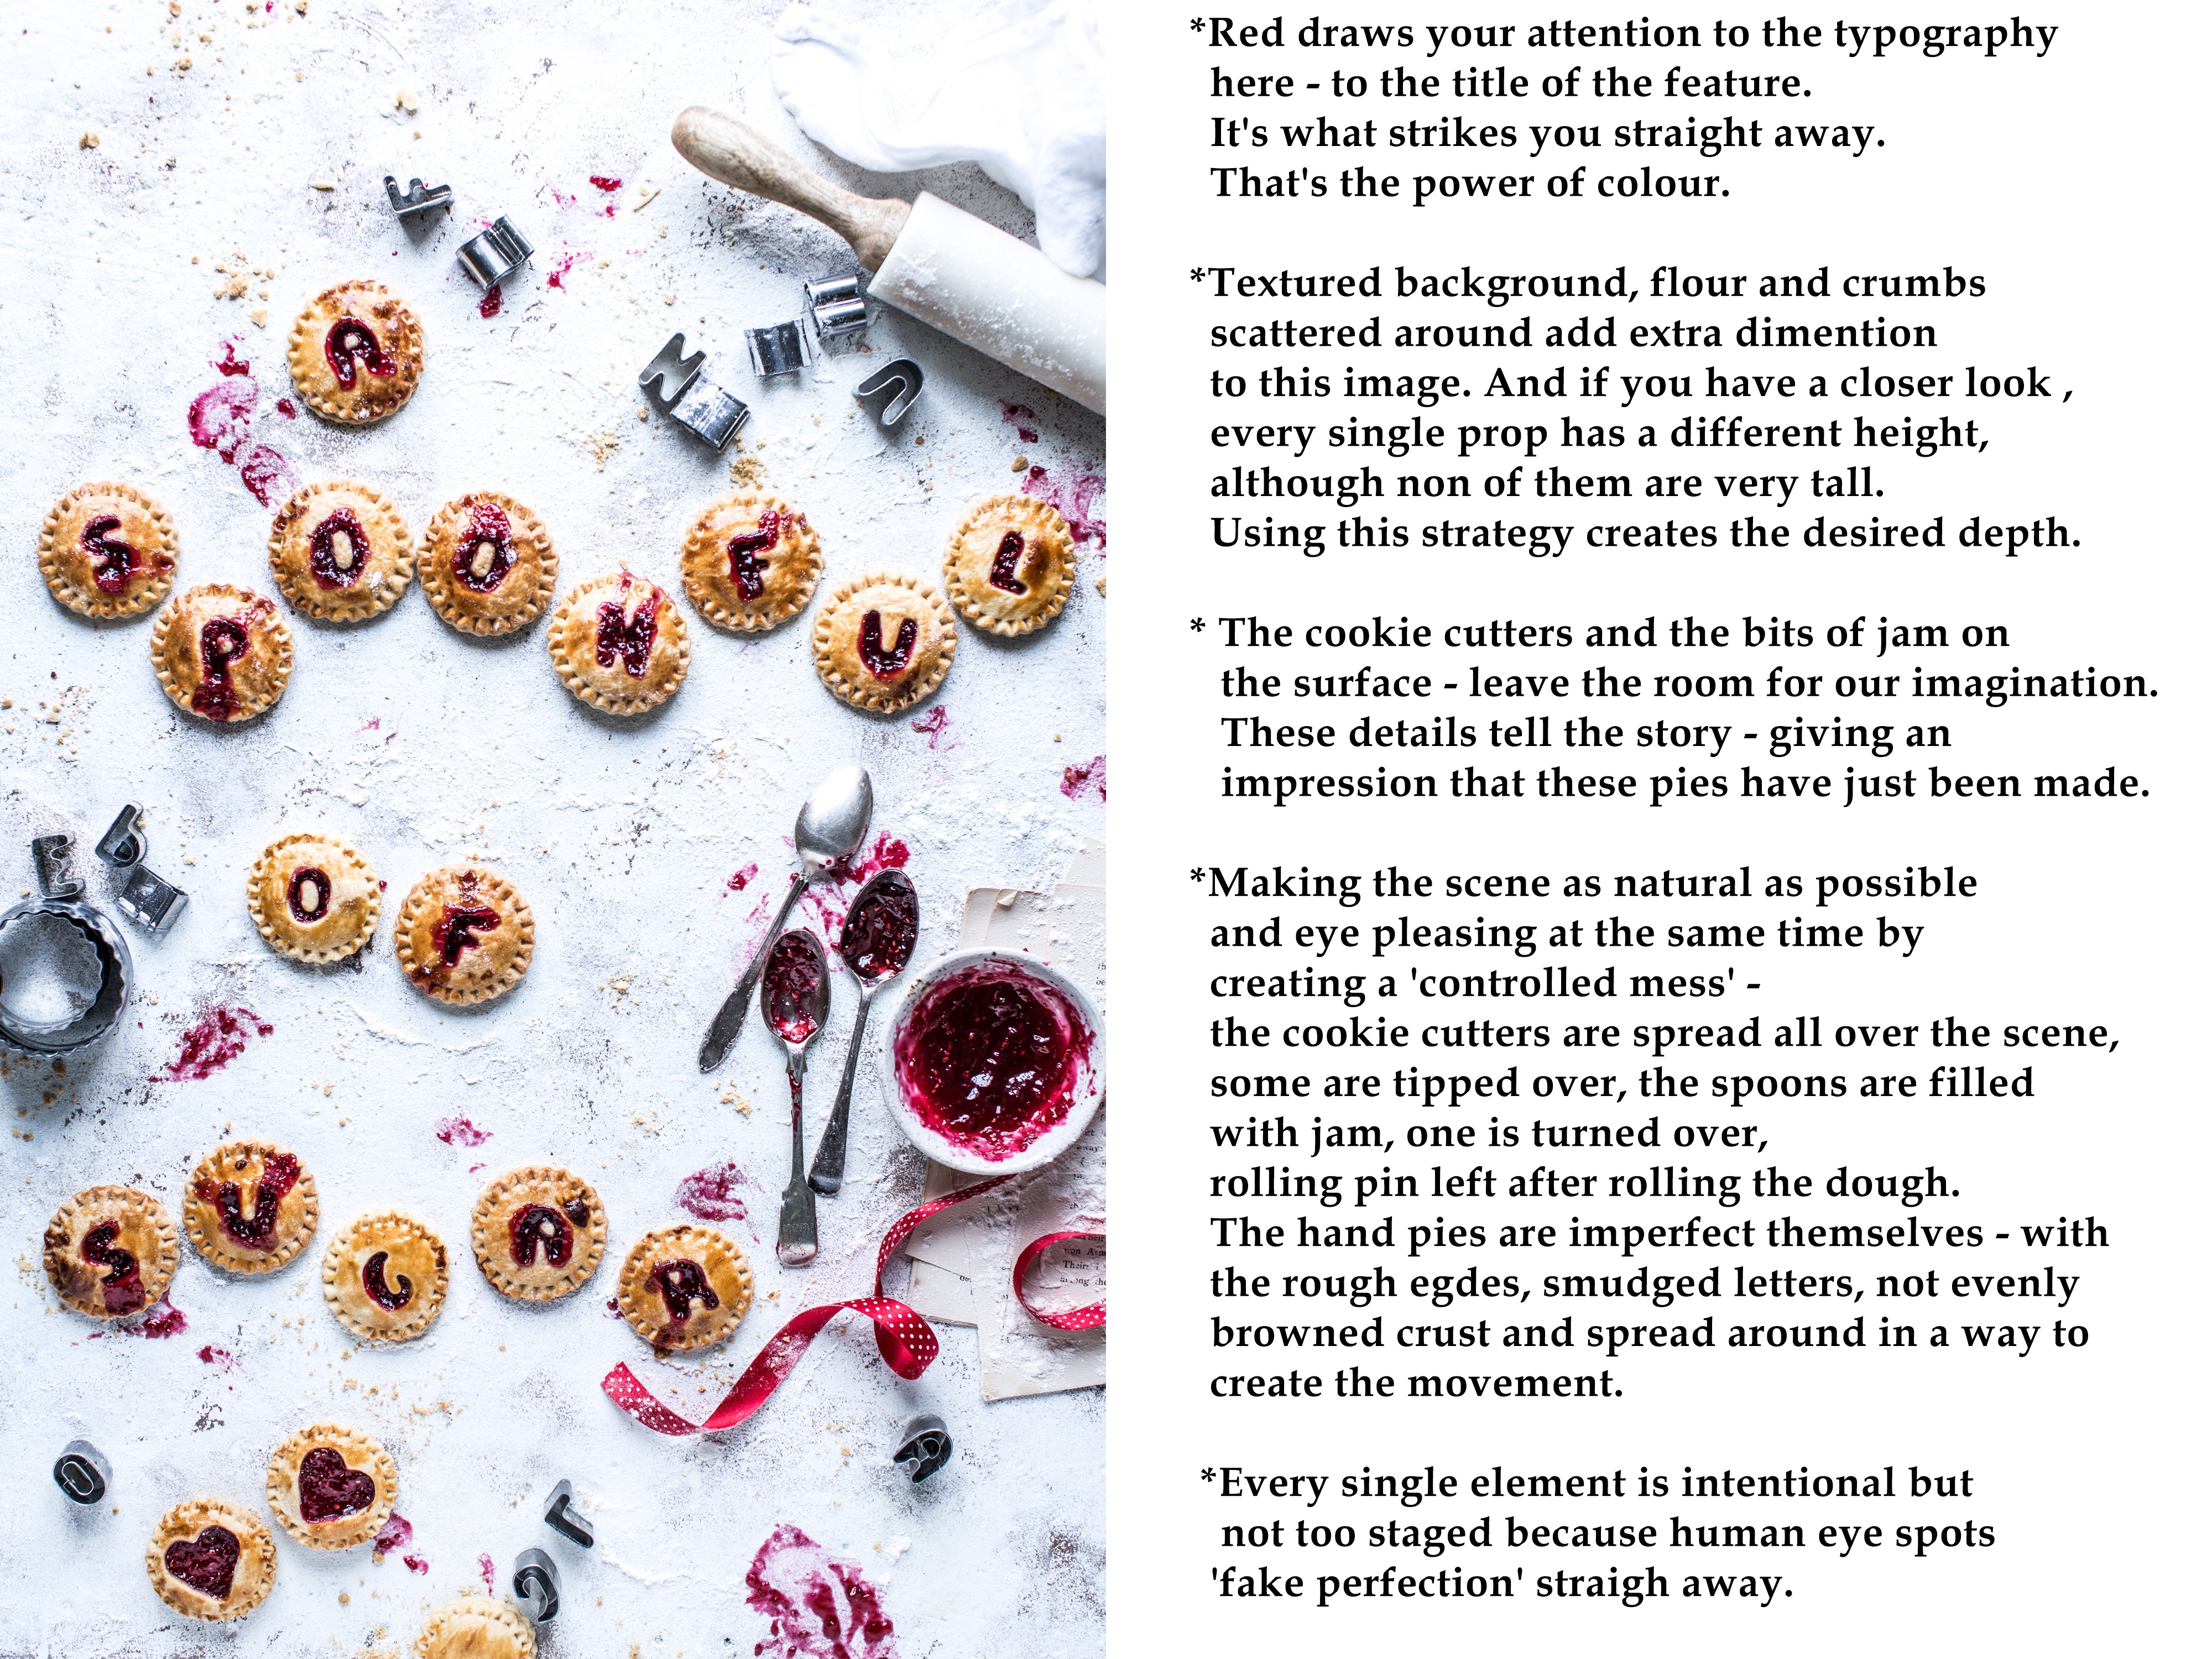
The propping is very minimal here – the food tells the whole story and the red colour helps to draw your attention to the most important elements.
COLOUR
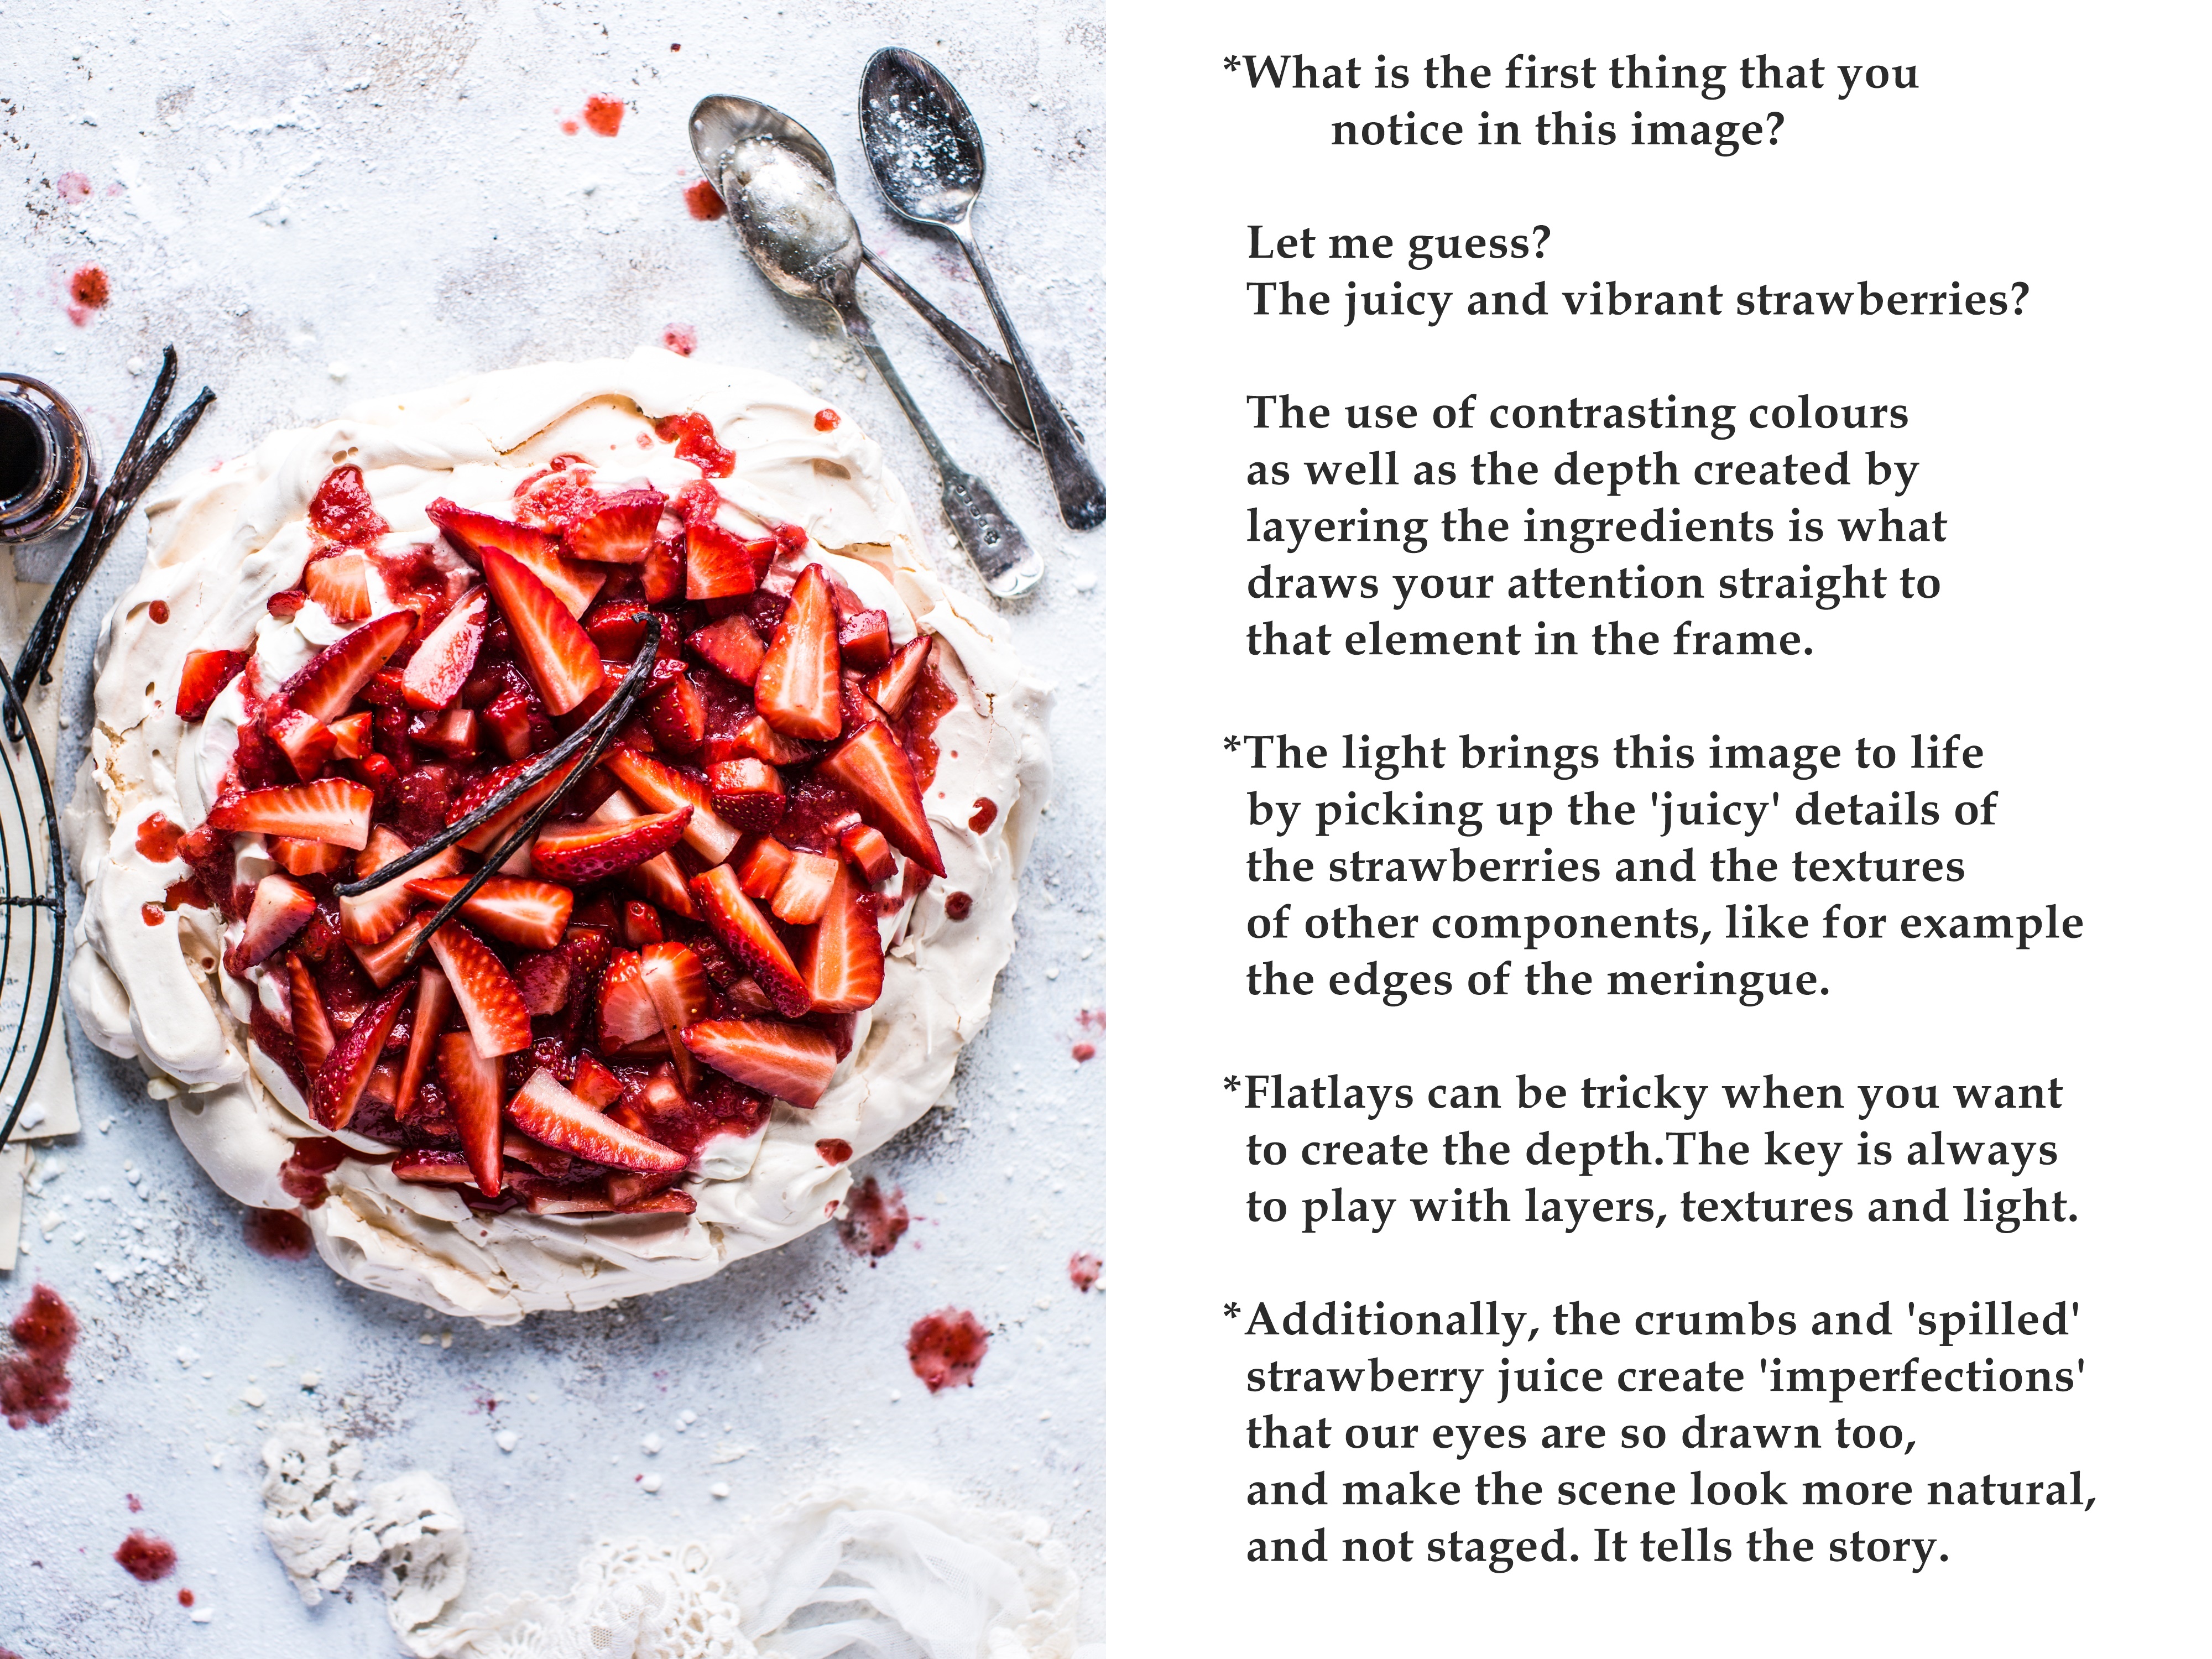
As red is an attention grabbing colour – and can be overpowering – I only used red here to highlight the IMPORTANT things in the photographs – like typography, lines that draw attention to the important elements in a frame, and to add lot’s of depth to the image (like in the pavlova example below).
Stage 4 – Executing the idea
IT’S FUN TIME!
LIGHT
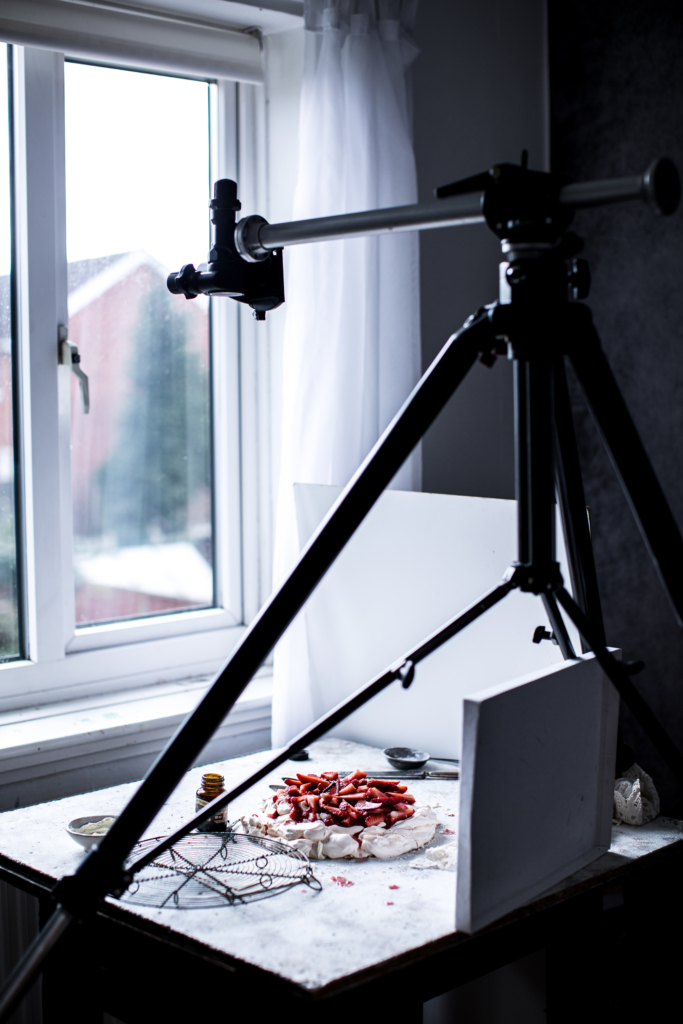
As the light is the main component in telling your story, I went for bright light, not too warm but not too cold, with minimal shadows – to support that ‘vibrancy’ feeling.
Everything sounds so perfect and easy at this stage right?? But the problem was – the light I had available that day was totally the opposite to what I wanted. It was a grey and dark day, and the light was creating very strong shadows (suprise, surprise – did I forget I lived in England?)
The good new is that once you know what light you want in your images, you can manipulate the one you have available to your liking. I shoot all my client images at 100 ISO to minimise the noise as much as possible and I wanted to keep my aperture here at least f 3.5/f 4 to have the important details in focus, so I shot all 3 recipes on a tripod and slowed the shutter speed down to 1/20. It was a dark day. I also added a reflector on the side and on the bottom to reflect the light and I played with the white balance to get the colour that I wanted to go for. It turned out 6000K was that perfect temperature that I liked in these circumstances.
ANGLE
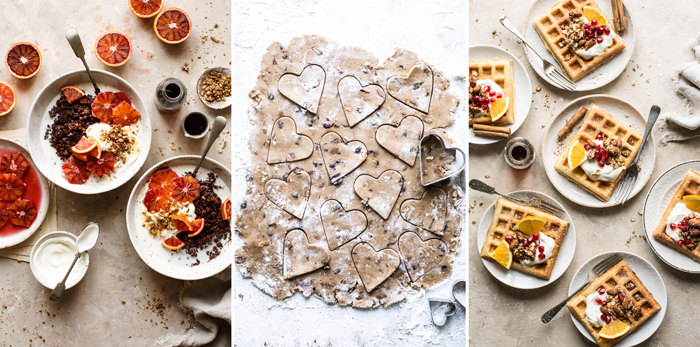
To really showcase the shape of the food I chose to shoot all three recipes from overhead. The typography was also a reason for deciding to go for this angle.
ADDING DEPTH TO THE FLATLAYS
In 3/4 or straight on angle , you can create a lot of dimension by choosing to shoot at a shallow depth of field but the flatlays are a little bit more tricky. The shallow depth of field in flatlays might make some of the important element in the frame blurred and make it loose that crisp look. As the name indicates – the image you shoot from overhead can be ehhm…….flat……To add depth to the images captured from above, I am always very mindful of using layers and textures which will draw the viewer to the photograph and make you feel as if you are there, just about to grab the food. I’ll tell you all about it as we’ll have a closer look, I mean feel 🙂 at the final photographs.
FINAL IMAGES
Hand pies
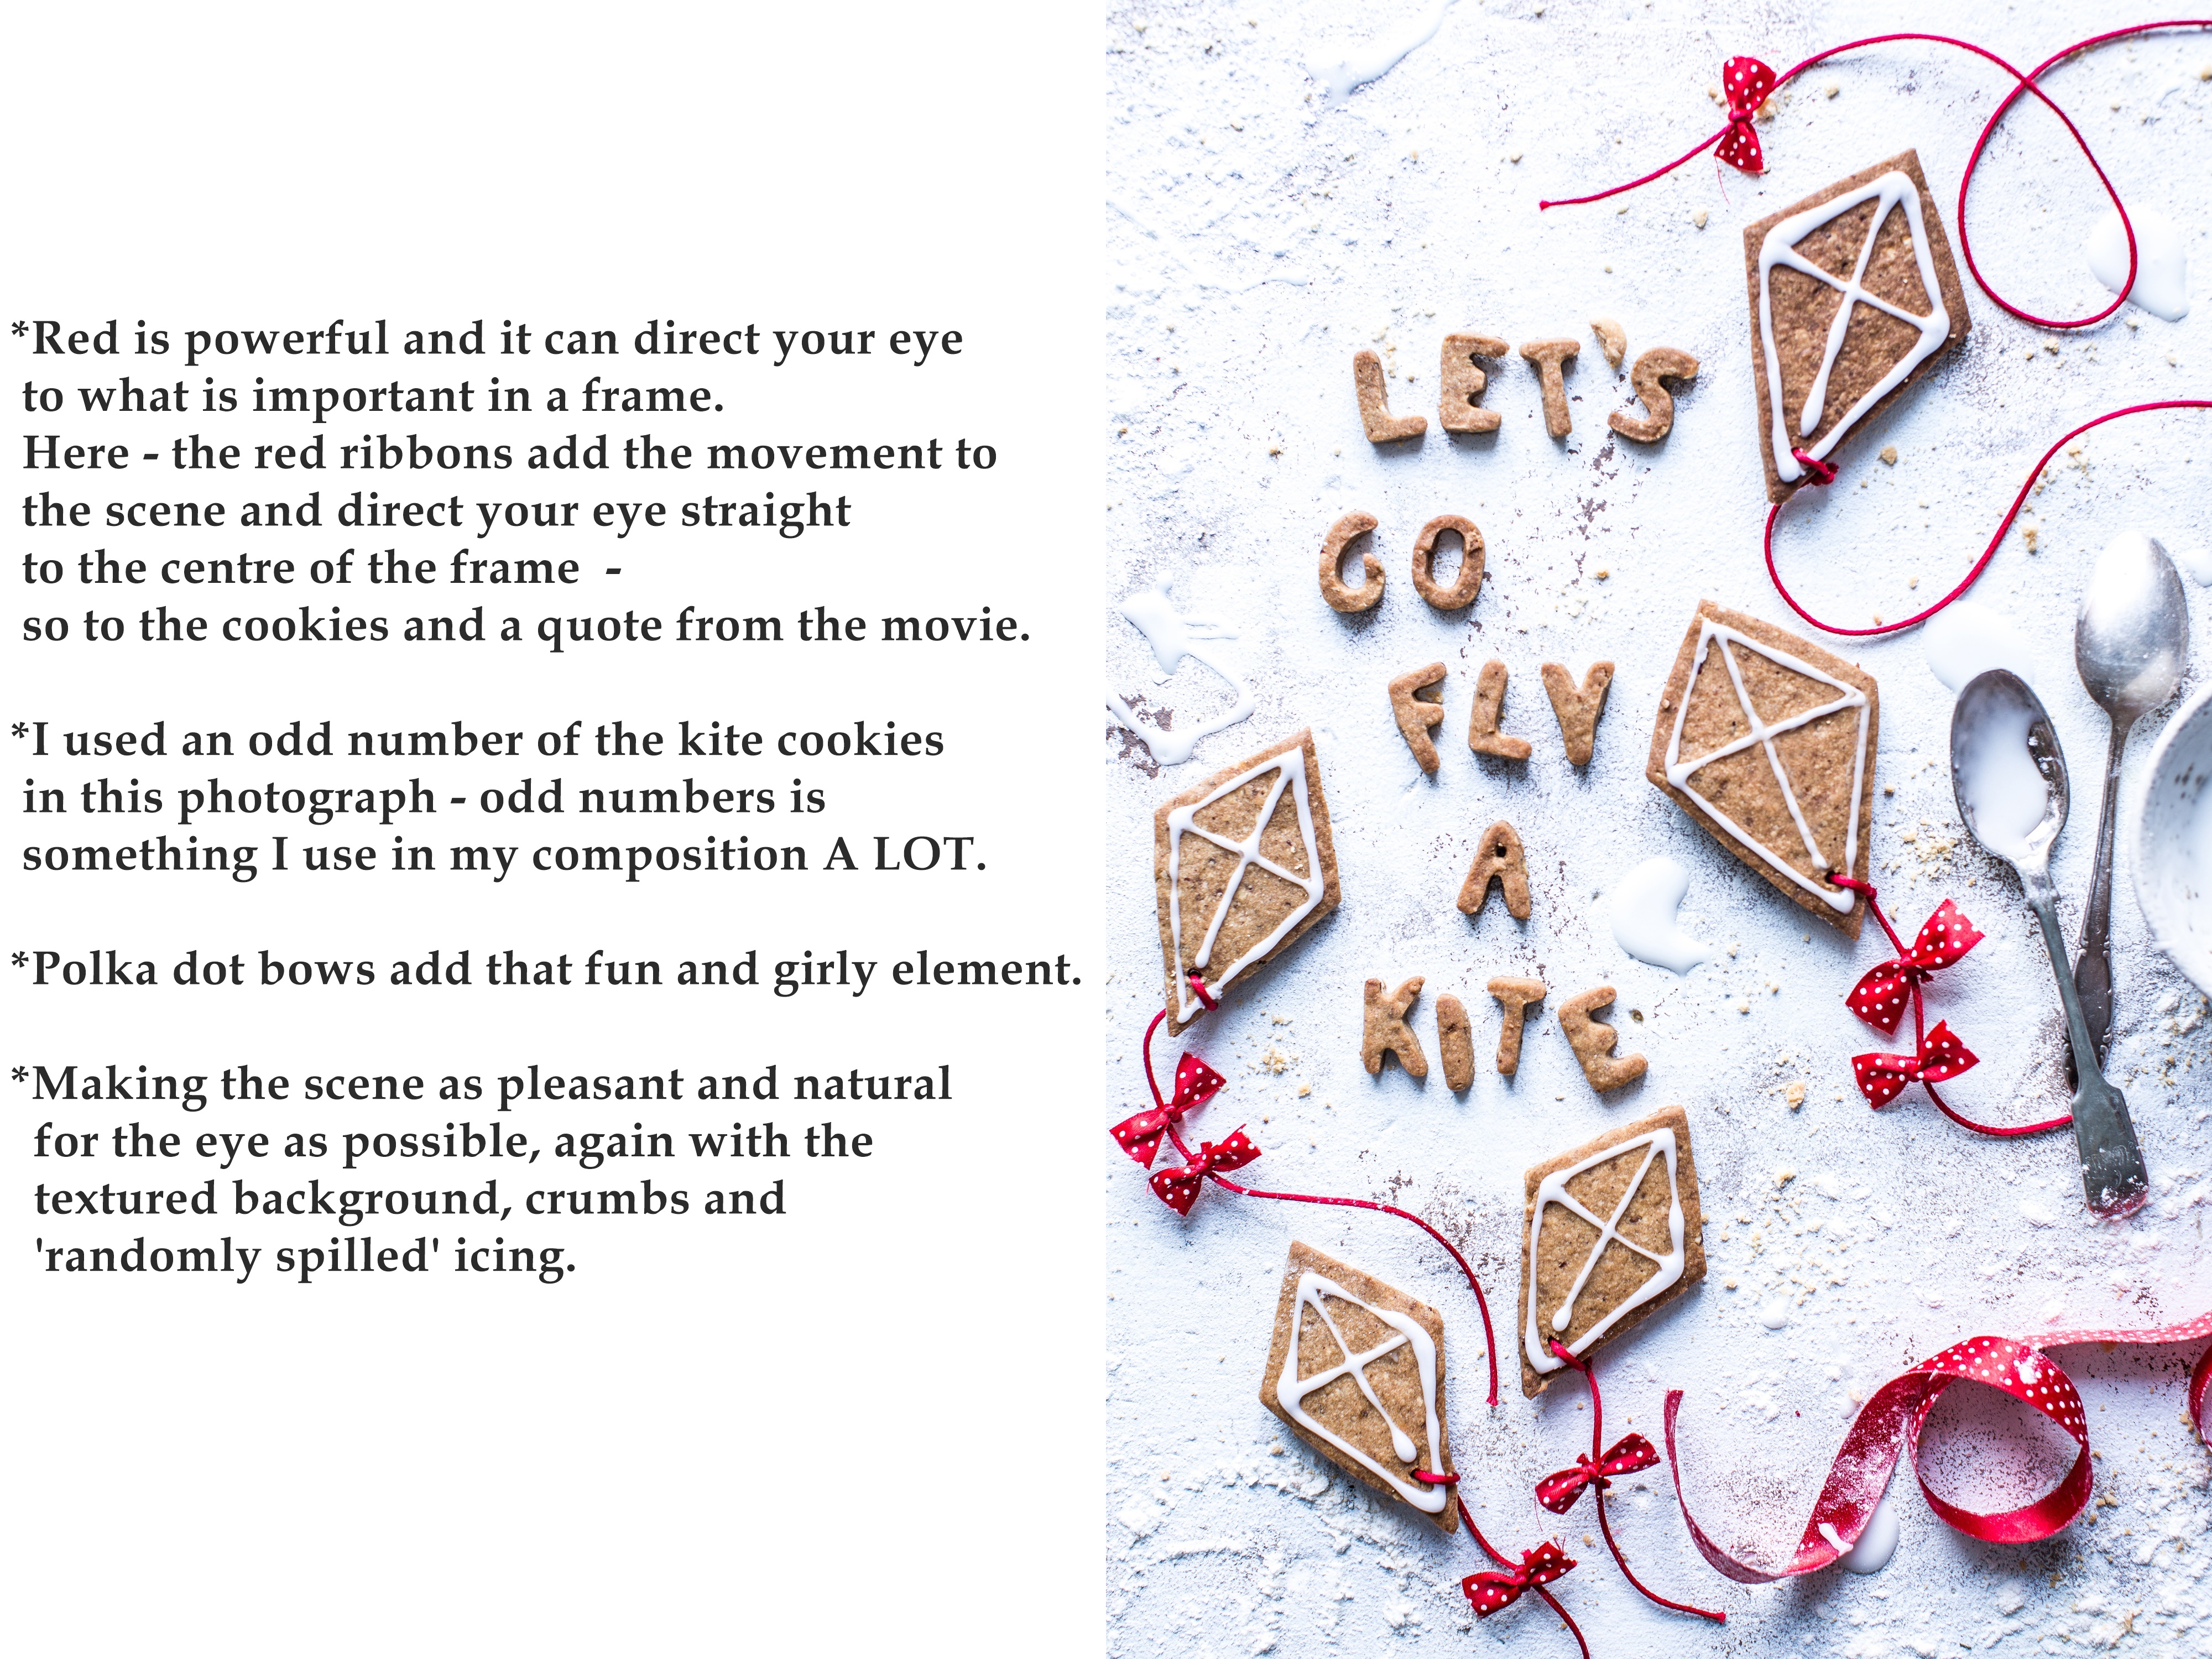
Kite cookies
Eton mess pavlova

Here is where you can find the recipes —-> Sister Mag
I’d love to hear what you think and if you want to pick my brain,
I am here to answer all of your questions 🙂
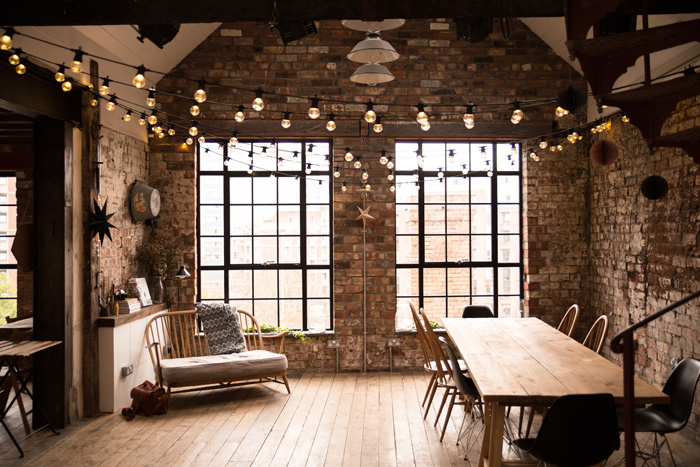
And if you are interested to learn more about how to create a unique story with your images that will ‘WOW!’ your viewer every time, learn all the styling tricks and secrets to bring your photos to life and uncover the power of colour theory that will add that *special something* to your style – SAVE THE DATE – and join me on one of my WORKSHOPS on the 7th of July in The Forge Bristol . More details coming soon!
Hugs, Bea x